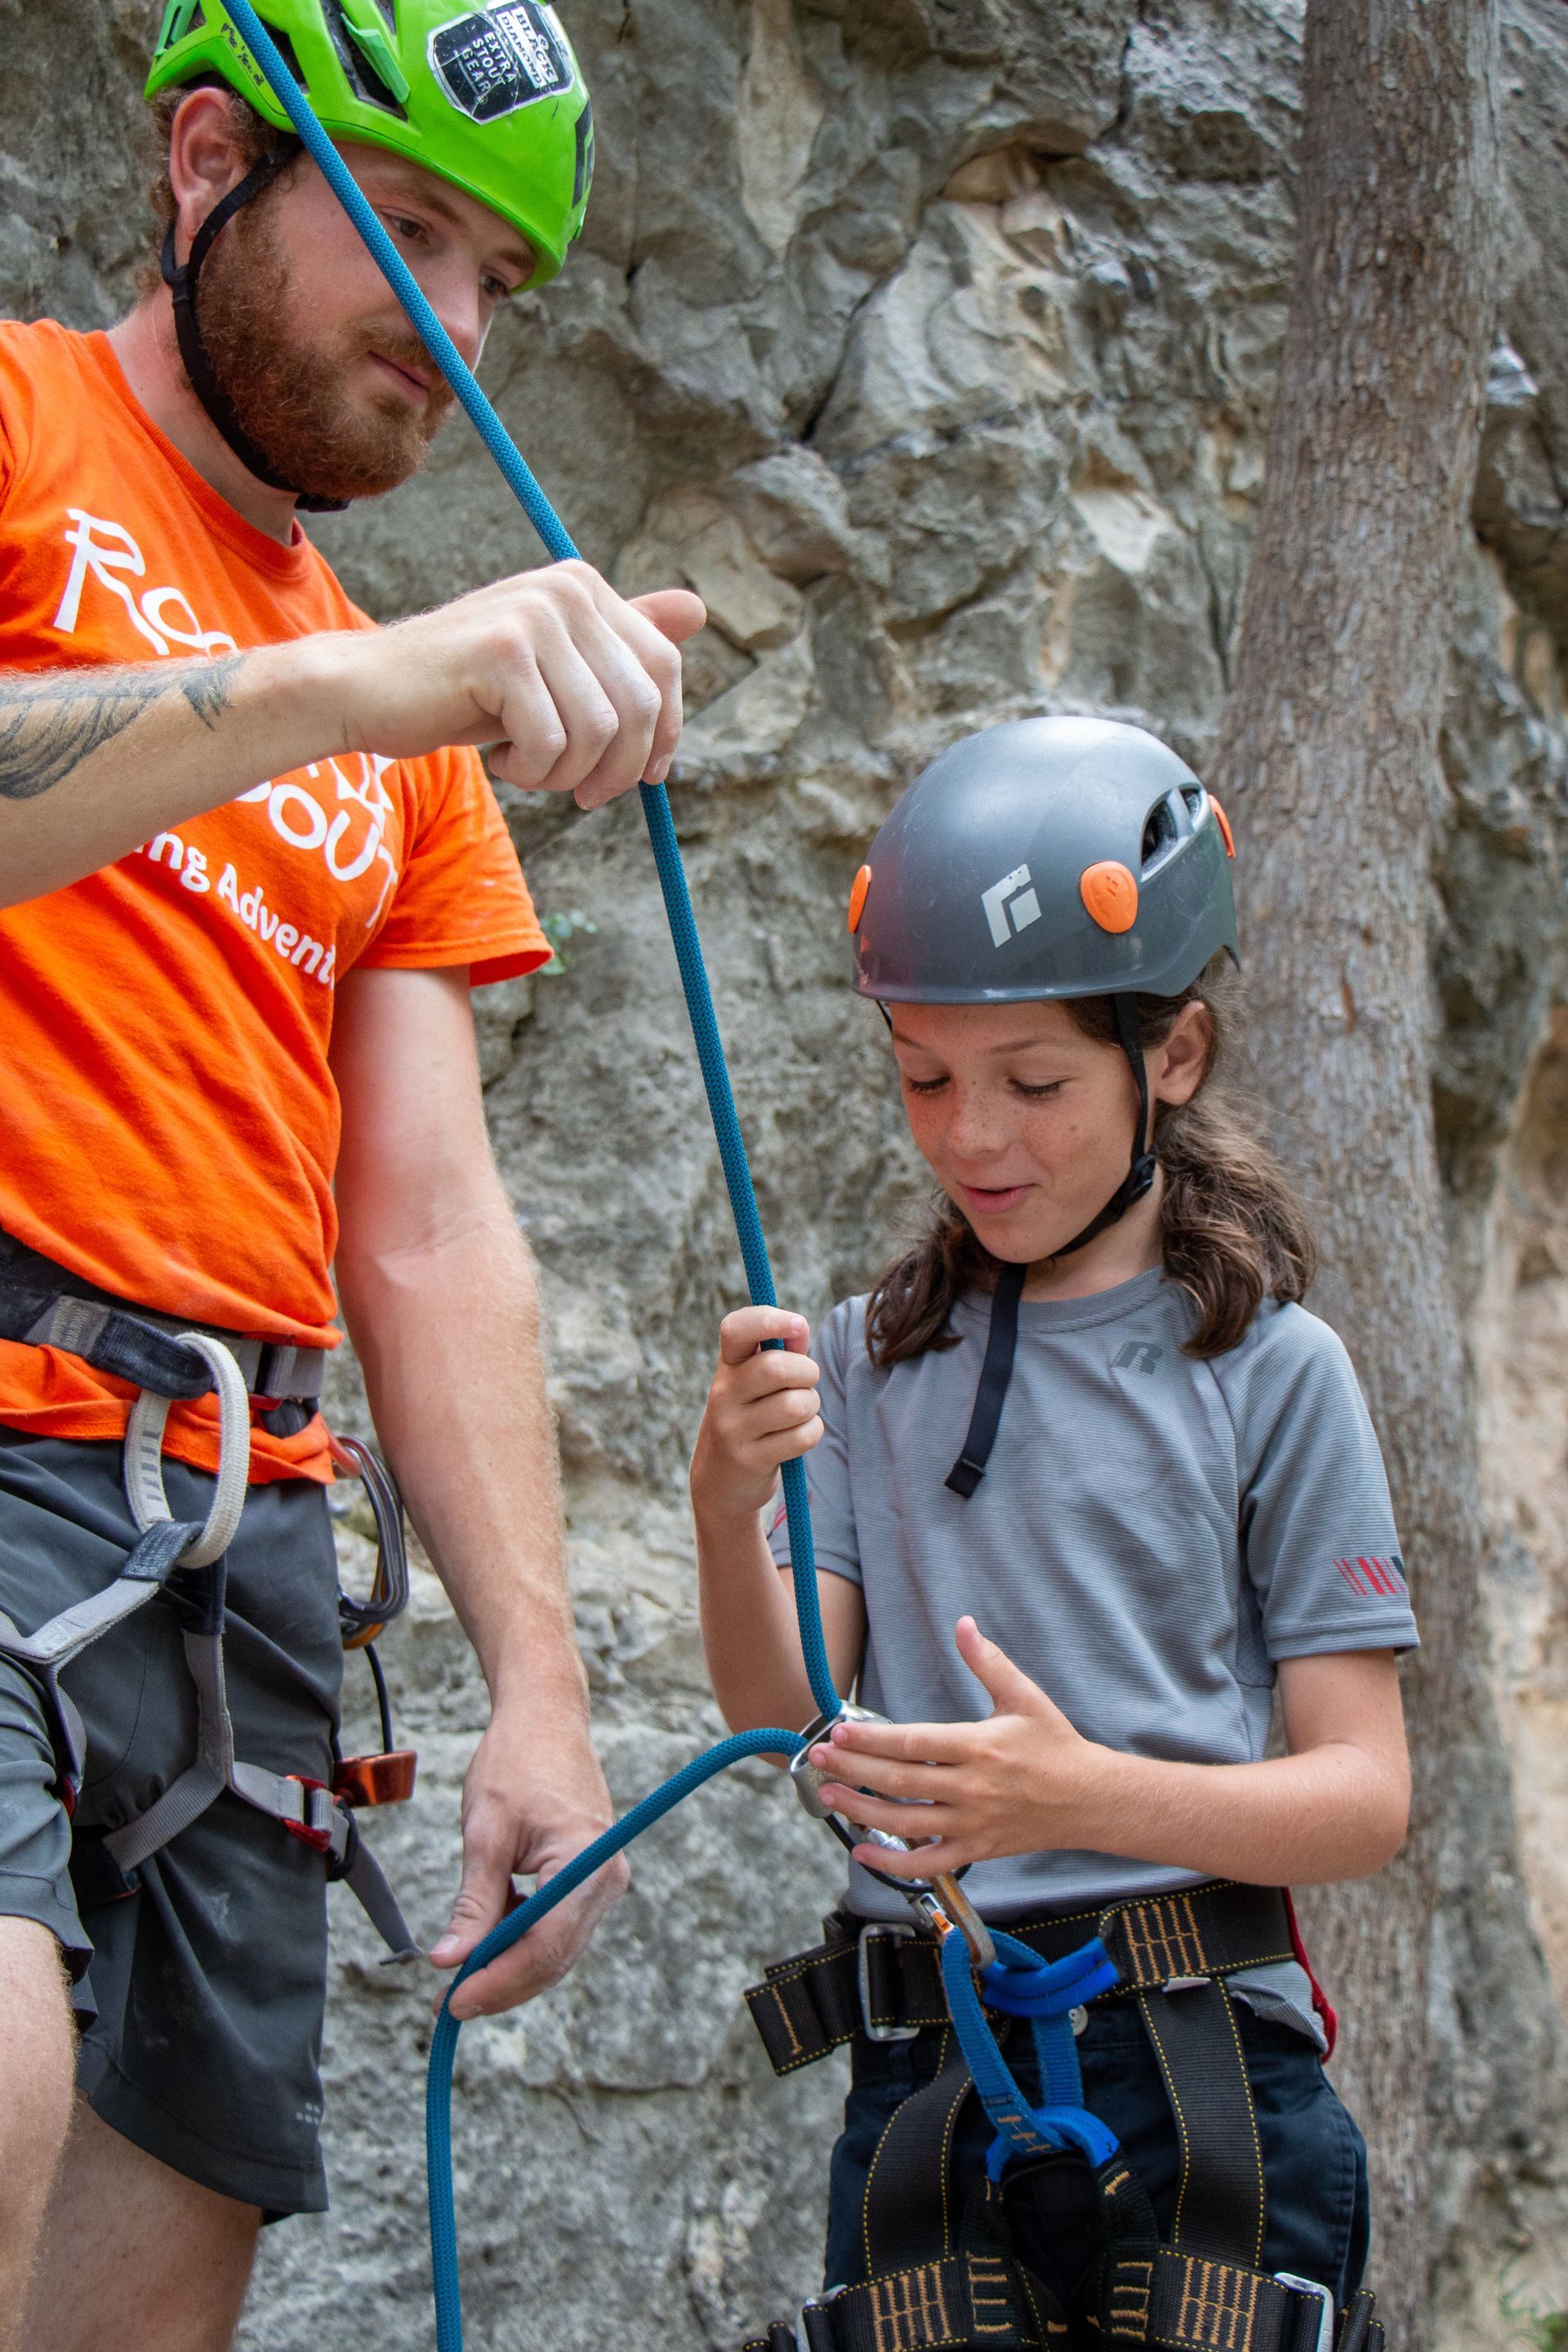
Rock Climbing Knots: 9 Essentials Every Climber Should Know

Rock-About Climbing Adventures • July 28, 2026

"I showed up unable to tie a knot." More than one of our climbers has started the day with exactly that worry, and by the afternoon they were tying in, checking a partner, and moving up real rock. Knots are the first language of climbing, and here is the reassuring part: you only need a handful of rock climbing knots to climb safely outdoors.

This guide walks through the essential climbing knots, what each one does, and when you would actually use it. We teach these same knots by hand on real Central Texas rock, so the goal here is not to overwhelm you with every knot ever tied. It is to give you the short, dependable set that does almost everything.

The short version: Rock climbing knots fall into four families. Tie-in knots connect the rope to your harness, bends join two ropes together, hitches attach the rope to gear, and friction hitches grip the rope for backups and self-rescue. For most outdoor roped climbing, five do the heavy lifting: the figure 8 follow-through, the clove hitch, the double fisherman's, the Prusik, and the Munter hitch.

Rock-About has been guiding climbers in Central Texas since 2001, and every one of our AMGA-certified guides teaches these knots the way you actually learn them: slowly, by hand, with someone checking your work. Let us start with the families, then the knots.

What Are the Four Types of Climbing Knots?

Almost every climbing knot you will meet fits into one of four jobs. Understanding the job makes the knot far easier to remember than memorizing a shape.

  • Tie-in knot: Connects the rope directly to your harness. Example: the figure 8 follow-through.
  • Bend: Joins two ropes or two ends together. Examples: the double fisherman's, the water knot.
  • Hitch: Attaches the rope to an object or anchor. Examples: the clove hitch, the girth hitch, the Munter.
  • Friction hitch: Grips the rope under load, slides when unweighted. Examples: the Prusik, the autoblock, the Klemheist.

You do not need all of them on day one. A beginner tying in on top rope really only needs the first one done perfectly.

The Figure 8 Follow-Through: The Knot You Tie Every Time

If you learn one climbing knot, learn this one. The figure 8 follow-through is the standard knot for tying the rope into your harness, and it is the answer to the question new climbers ask most: what is the best knot for rock climbing?

It earns that spot for three reasons. It is strong, it is easy to inspect at a glance, and it is hard to tie badly without the mistake being obvious. A correctly dressed figure 8 looks like two parallel lines tracing the same shape, which means you, your partner, and your guide can all confirm it in a second.

You tie it by making a figure 8 in the rope, threading the tail through both hard points of your harness, then retracing the original 8 back through itself. Finish with a stopper knot snugged against the 8 so the tail cannot creep.

The figure 8 is the first knot we teach on the Beginner Rock Climbing Course, and it is the one you will tie before every single climb for the rest of your climbing life.

Knots for Anchors and Joining Ropes

Once you move past top rope into lead climbing and traditional climbing, a few more knots earn their place. These handle anchors, rope management, and joining two ropes for a longer rappel.

  • Clove hitch: An adjustable hitch that locks onto a carabiner. Use it for clipping into an anchor and fine-tuning your position.
  • Girth hitch: Loops a sling around an object or harness. Use it for attaching a sling to a tree, chockstone, or belay loop.
  • Double fisherman's: Permanently joins two rope ends. Use it for tying cord into a Prusik loop or joining rappel ropes.
  • Water knot: Joins two ends of flat webbing. Use it for building or repairing a webbing sling.
  • Bowline: Forms a fixed loop that is easy to untie after loading. Use it for tying around a tree or anchor where you want a loop.

The clove hitch is worth singling out. It lets you clip into an anchor and then adjust how much rope is between you and that anchor without unclipping anything, which is why it shows up constantly on multi-pitch routes.

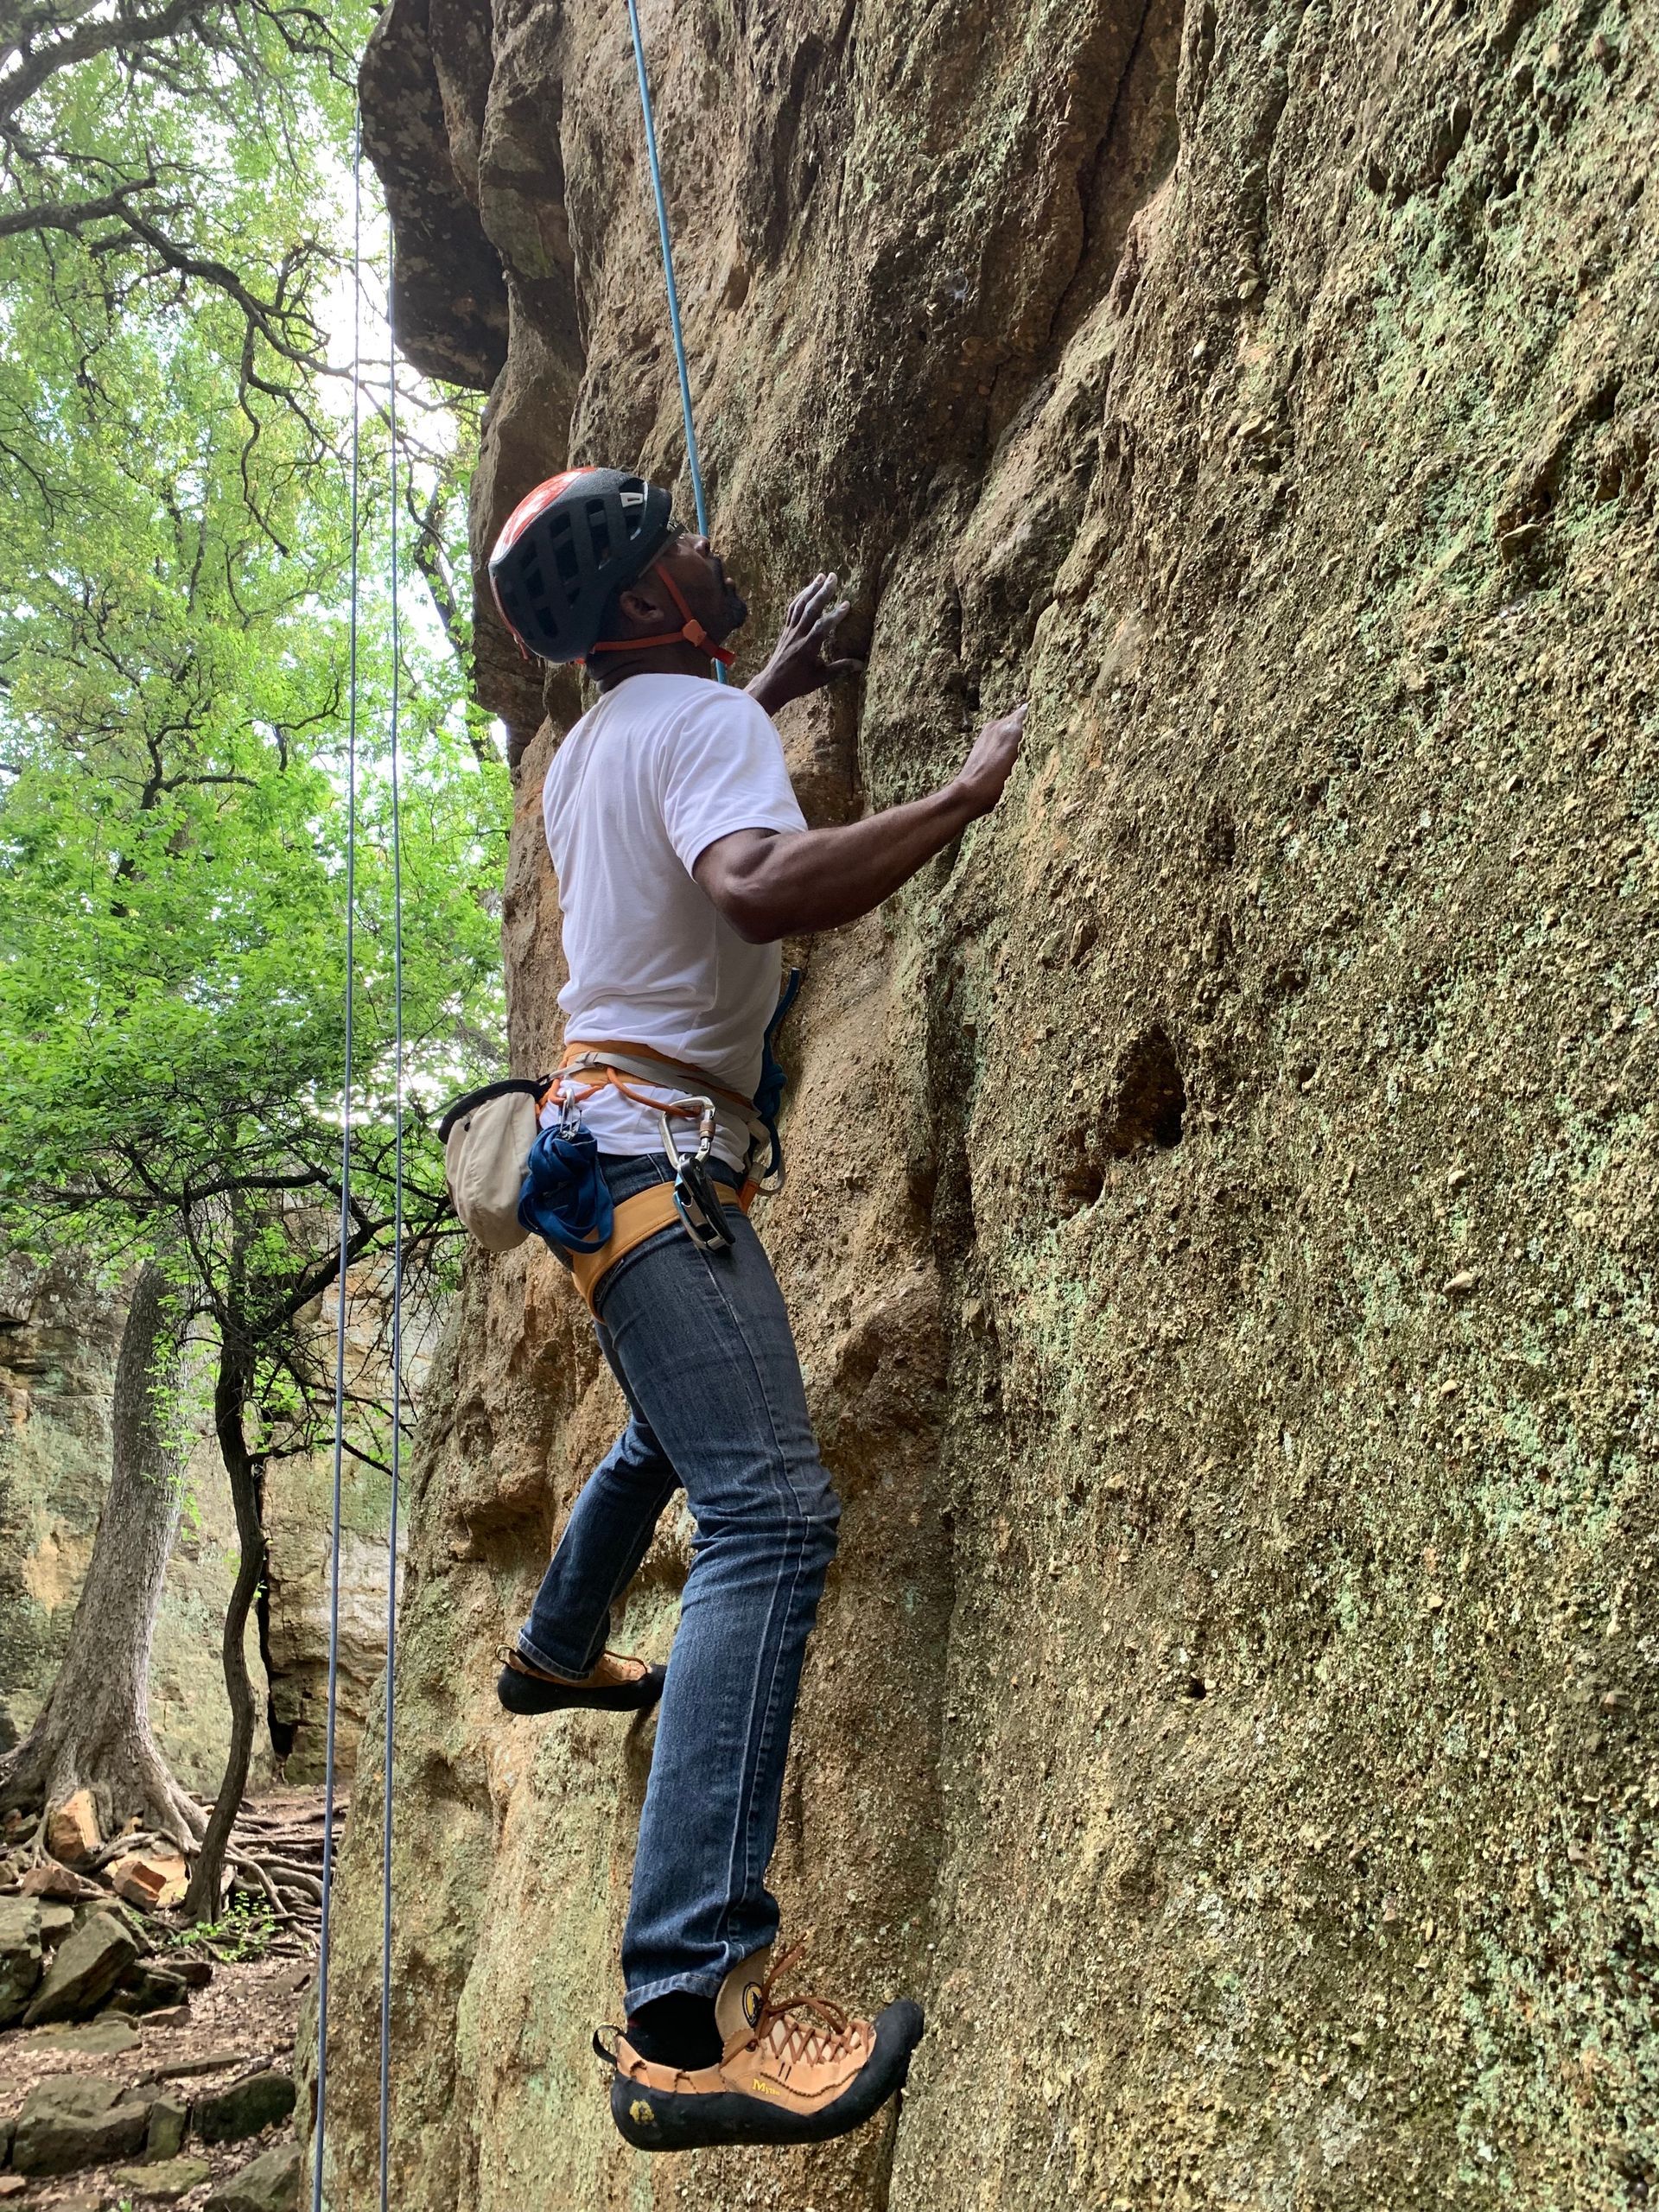
 Learn these on real rock, not just a screen. A diagram can show you the shape, but it cannot tell you when your figure 8 is dressed wrong or your clove hitch is loaded backward. On the Beginner Rock Climbing Course, you tie in, get checked by an AMGA-certified guide, and climb real routes the same day. Gear is included, so you only need to bring yourself.

Friction Hitches: The Prusik, Autoblock, and Munter

Friction hitches are the clever ones. They grip the rope when weighted and slide freely when you take the load off, which makes them the foundation of rappel backups, ascending a rope, and self-rescue.

  • Prusik: A cord loop that grips the rope and can be slid by hand. Use it for backing up a rappel or ascending a fixed rope.
  • Autoblock: A quick friction wrap, easy to release under load. It is the most common rappel backup below your device.
  • Munter hitch: A hitch that belays or lowers directly off a carabiner. Use it for belaying or rappelling when you have dropped or forgotten your device.

The Munter hitch is the one to keep in your back pocket. If a belay device ever ends up at the bottom of a canyon, a Munter lets you keep belaying and lowering safely with nothing but a locking carabiner. We cover the Munter, the Prusik, and the rest of the friction-hitch family in depth on the Rock Climbing Self-Rescue Clinic, alongside building and cleaning anchors.

The Knots Our Guides Teach, and Why We Teach Them on Real Rock

Here is what years of teaching beginners has taught us: people do not struggle with knots because knots are hard. They struggle because they learned the shape without learning when it matters, or they practiced on a couch and then froze at the base of a cliff.

So we flip it. On our courses you tie the knot, then immediately use it on the rock it was made for. You tie a figure 8 and then climb on it. You build a clove-hitch anchor and then hang from it. That is when a knot stops being a puzzle and becomes muscle memory.

It helps that Central Texas gives you the perfect classroom. The granite domes at Enchanted Rock and the limestone at Reimer's Ranch are forgiving places to learn, close to Austin and San Antonio, with no special gear to buy. Every course includes the helmets, harnesses, ropes, and climbing shoes, and every guide is AMGA-certified.

As one recent guest put it after a first day out: "He taught us how to tie knots, build anchors, and provided other info we would need to progress into outdoor climbing." That is the whole idea. You leave able to do it yourself.

How to Practice Your Rock Climbing Knots

You can absolutely build the muscle memory at home before you ever touch rock. A short length of spare rope or accessory cord and ten minutes a few times a week goes a long way.

A few habits that speed it up:

  • Practice one knot until it is automatic before adding the next. Depth beats breadth.
  • Tie it with your eyes closed. If you can tie a figure 8 without looking, you can tie it when you are nervous and pumped at the base of a route.
  • Learn to inspect, not just tie. Knowing what a correct knot looks like is what keeps you and your partner safe.
  • Always finish your tie-in with a backup stopper knot and a partner check before you climb.

When you are ready to put them to use, a guided day is the fastest way to turn living-room practice into real-rock confidence. If you are still deciding which descent terms matter, our guide to rappelling and abseiling pairs naturally with the friction hitches above, and our climbing safety guide covers the habits that surround every knot.

Frequently Asked Questions

What is the best knot for rock climbing?

The figure 8 follow-through. It is the standard knot for tying the rope into your harness because it is strong, easy to inspect, and hard to tie incorrectly without the error being visible. It is the first knot most climbers learn and the one you will tie before every climb.

How many climbing knots do I need to know?

For most outdoor roped climbing, five knots cover the vast majority of situations: the figure 8 follow-through, the clove hitch, the double fisherman's, the Prusik, and the Munter hitch. You can start climbing on top rope confidently with just the figure 8 done correctly.

What knots do rock climbers use?

Climbers use four families of knots: a tie-in knot (the figure 8 follow-through), hitches for anchoring (clove hitch, girth hitch), bends for joining ropes (double fisherman's, water knot), and friction hitches for backups and rescue (Prusik, autoblock, Munter).

What is the difference between a knot, a bend, and a hitch?

A knot is tied in a single rope, a bend joins two separate ropes or ends together, and a hitch attaches a rope to an object like a carabiner or a tree. Friction hitches are a special kind of hitch that grips under load and slides when unweighted.

Can I learn climbing knots on my own?

You can practice the shapes at home, and you should. But learning to inspect a knot, dress it correctly, and use it under real load is best done with an instructor who can catch mistakes you cannot see yet. That hands-on check is the difference that keeps climbing safe.

Ready to Tie In on Real Rock?

Now that you know the handful of rock climbing knots that actually matter, the next step is putting them to work where they belong. On the Beginner Rock Climbing Course, you will tie your first figure 8, get checked by an AMGA-certified guide, and spend the day climbing real Central Texas rock, with all the gear included. Plenty of our climbers show up unable to tie a single knot. Almost none of them leave that way.

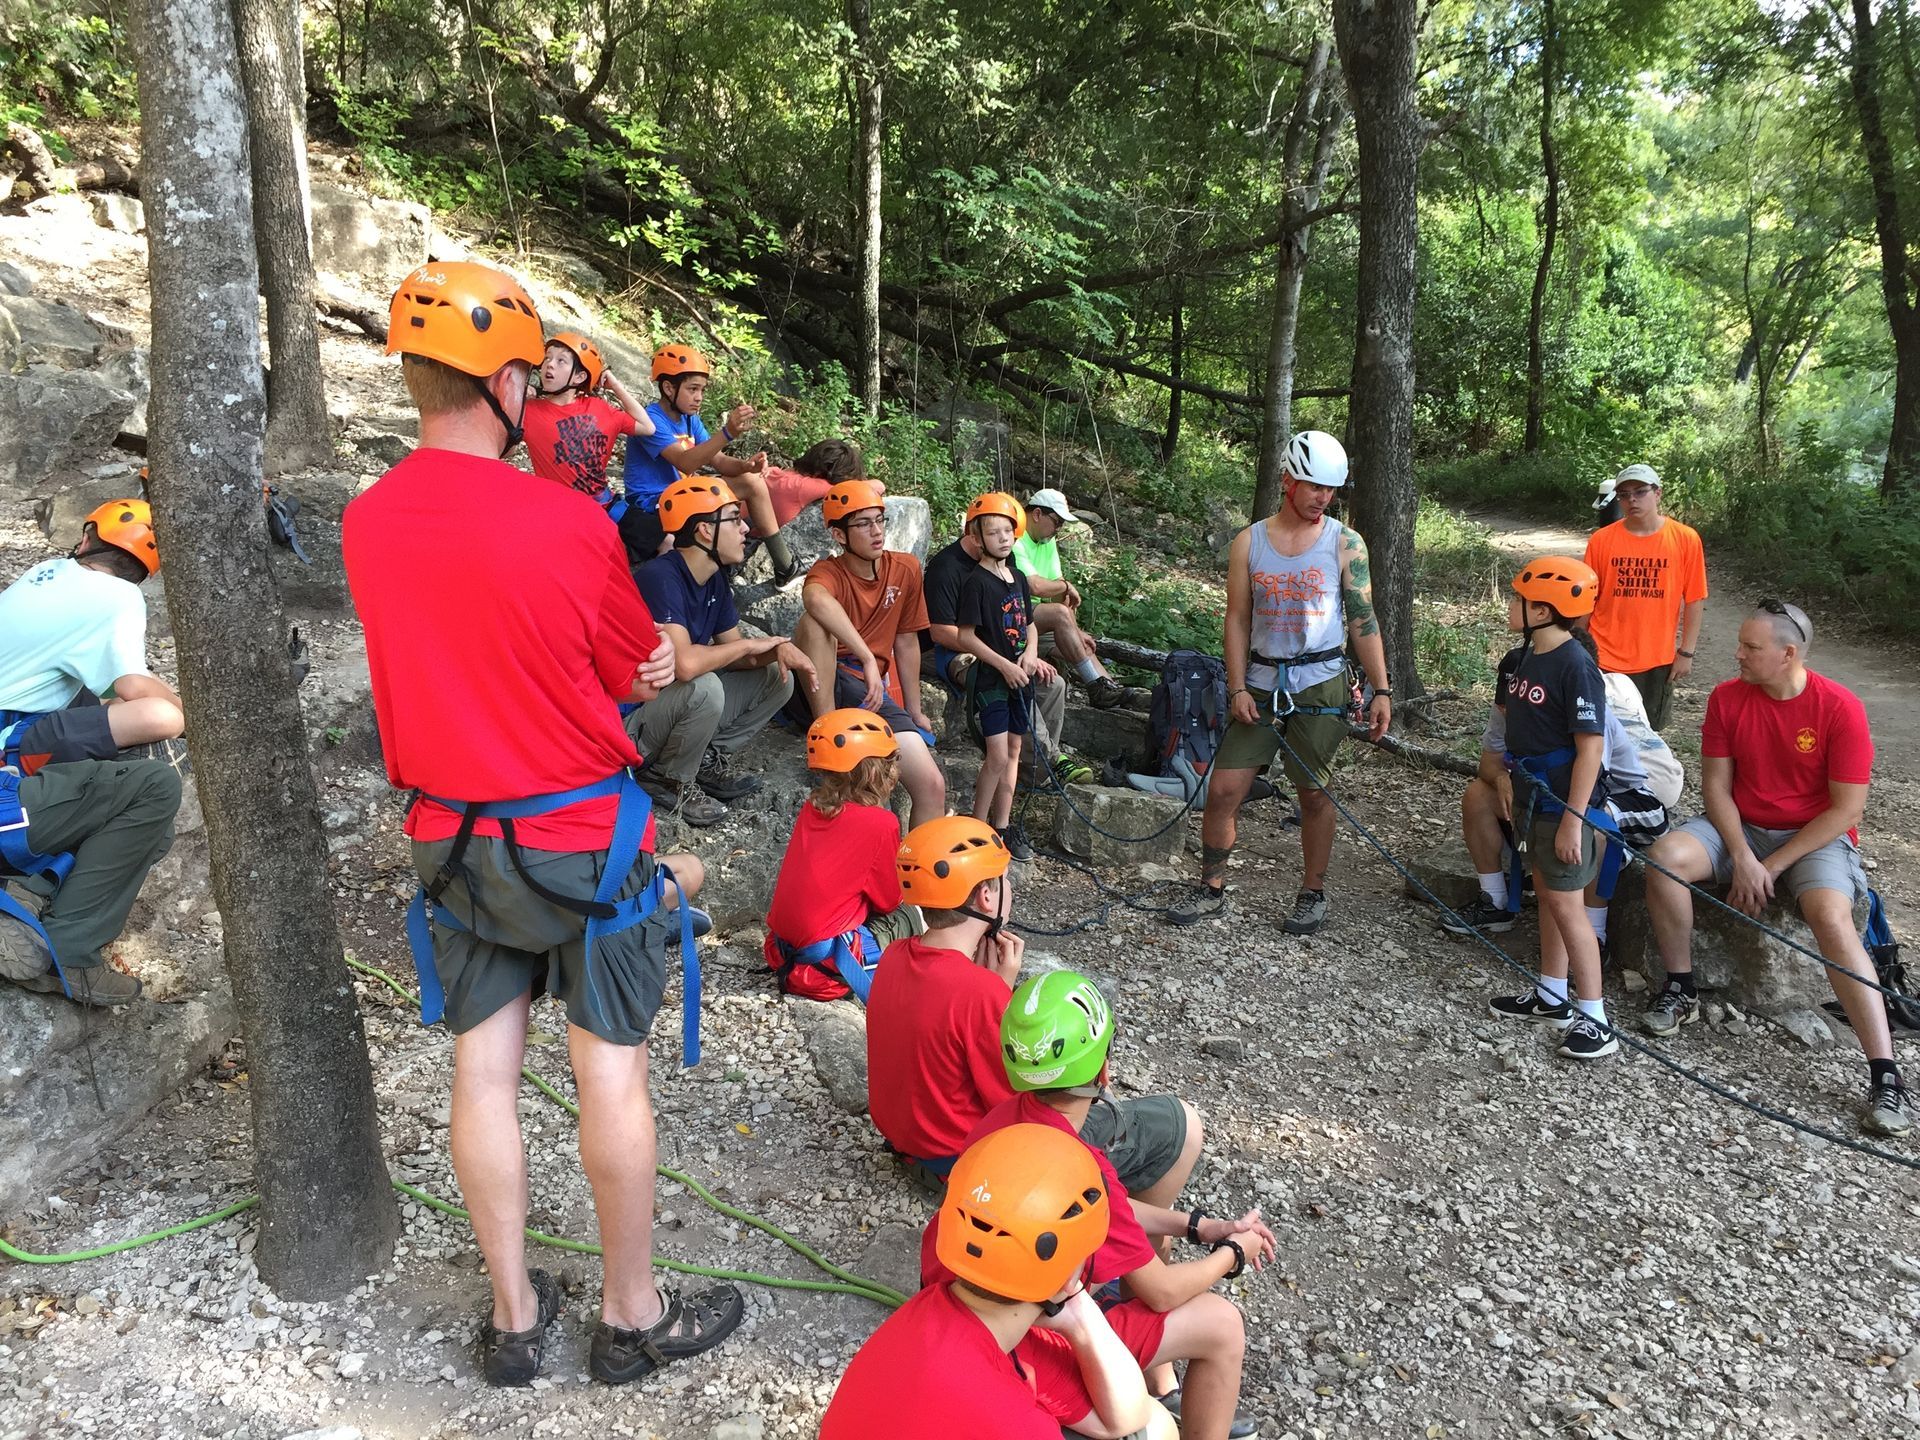
Scout troop rock climbing with AMGA-certified guides in Central Texas
August 7, 2026
Why guided rock climbing works as team building for scout troops and school groups in Texas: AMGA-certified guides, gear provided, from $85 per person.
By Rock-About Climbing Adventures July 31, 2026
How to use a hangboard safely: who is ready, when to start, and the finger protocols that build climbing strength without injuring your fingers.
By Rock-About Climbing Adventures July 29, 2026
Climbing commands keep you safe. Learn the full set of climber-belayer calls in order, from On belay to Take to Rock, and how to respond to each one.
By Rock-About Climbing Adventures July 27, 2026
A climbing warm-up routine that takes 10 minutes and protects your fingers, shoulders, and forearms, using the mobility and finger prep our AMGA guides use.
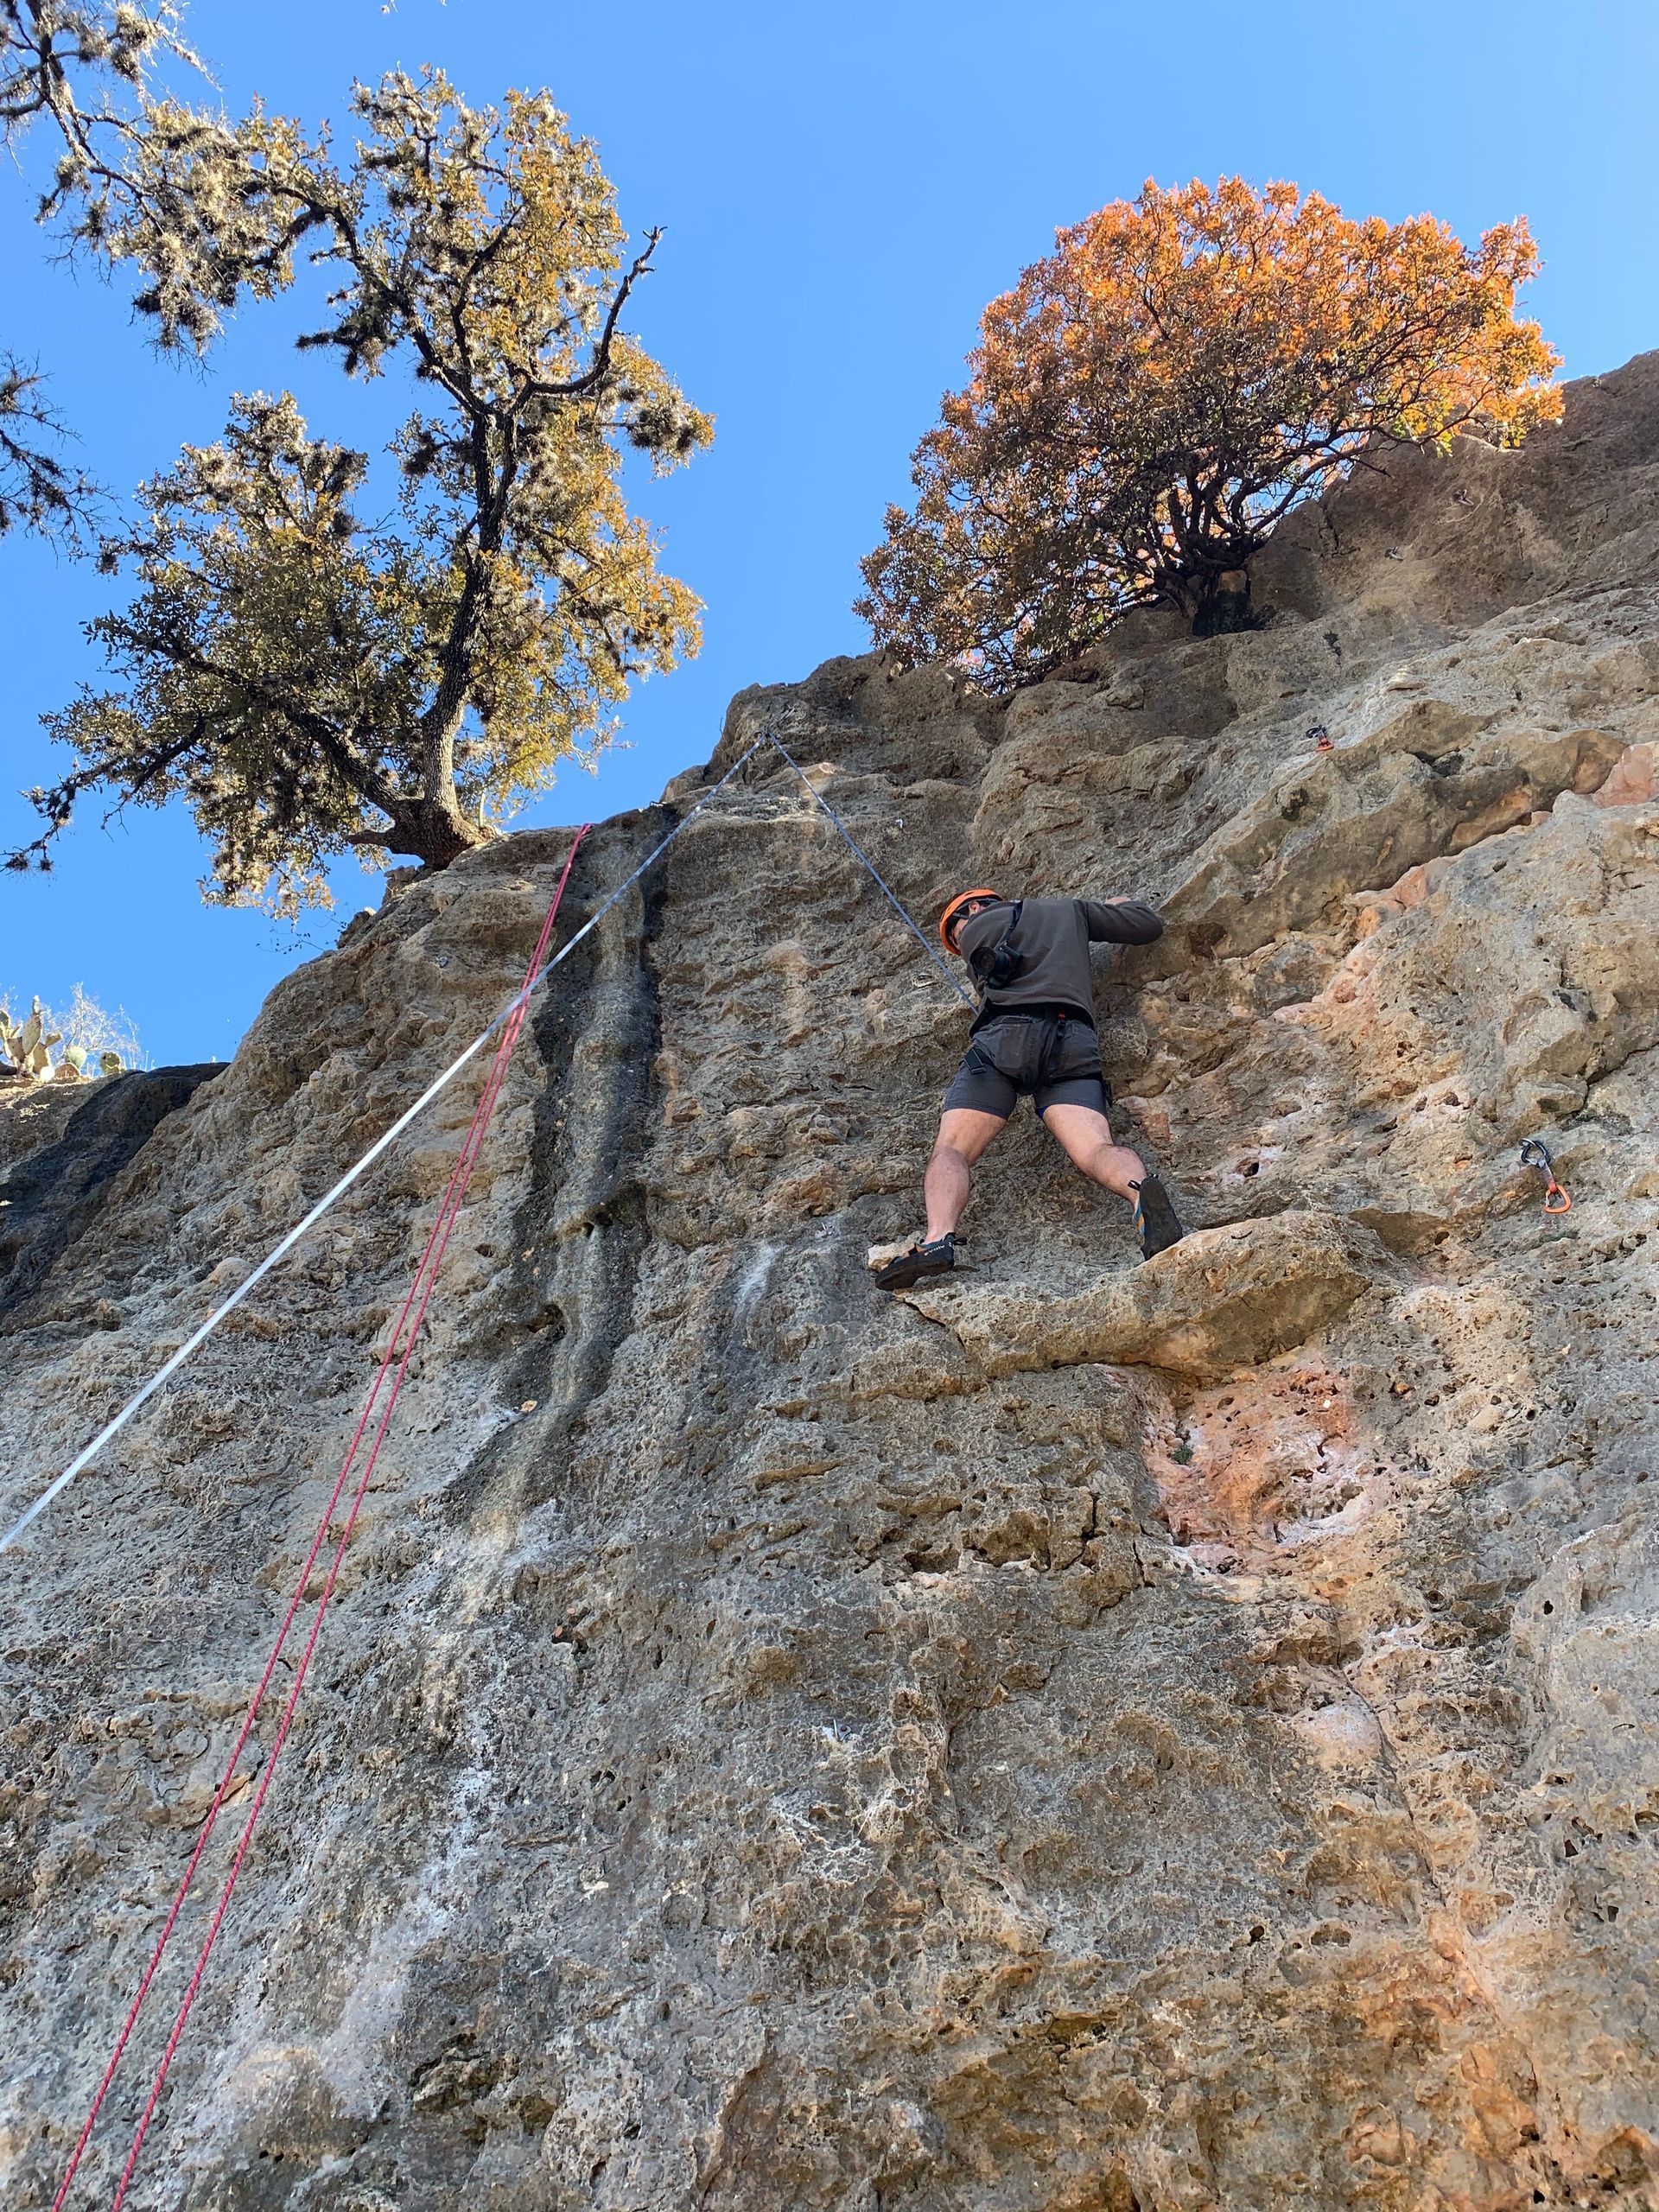
Outdoor rock climbing near Dallas-Fort Worth at Penitentiary Hollow, Lake Mineral Wells
July 24, 2026
Where to actually climb real rock near Dallas-Fort Worth: the closest outdoor crags, drive times, gym vs. outdoors, and guided trips at Lake Mineral Wells.
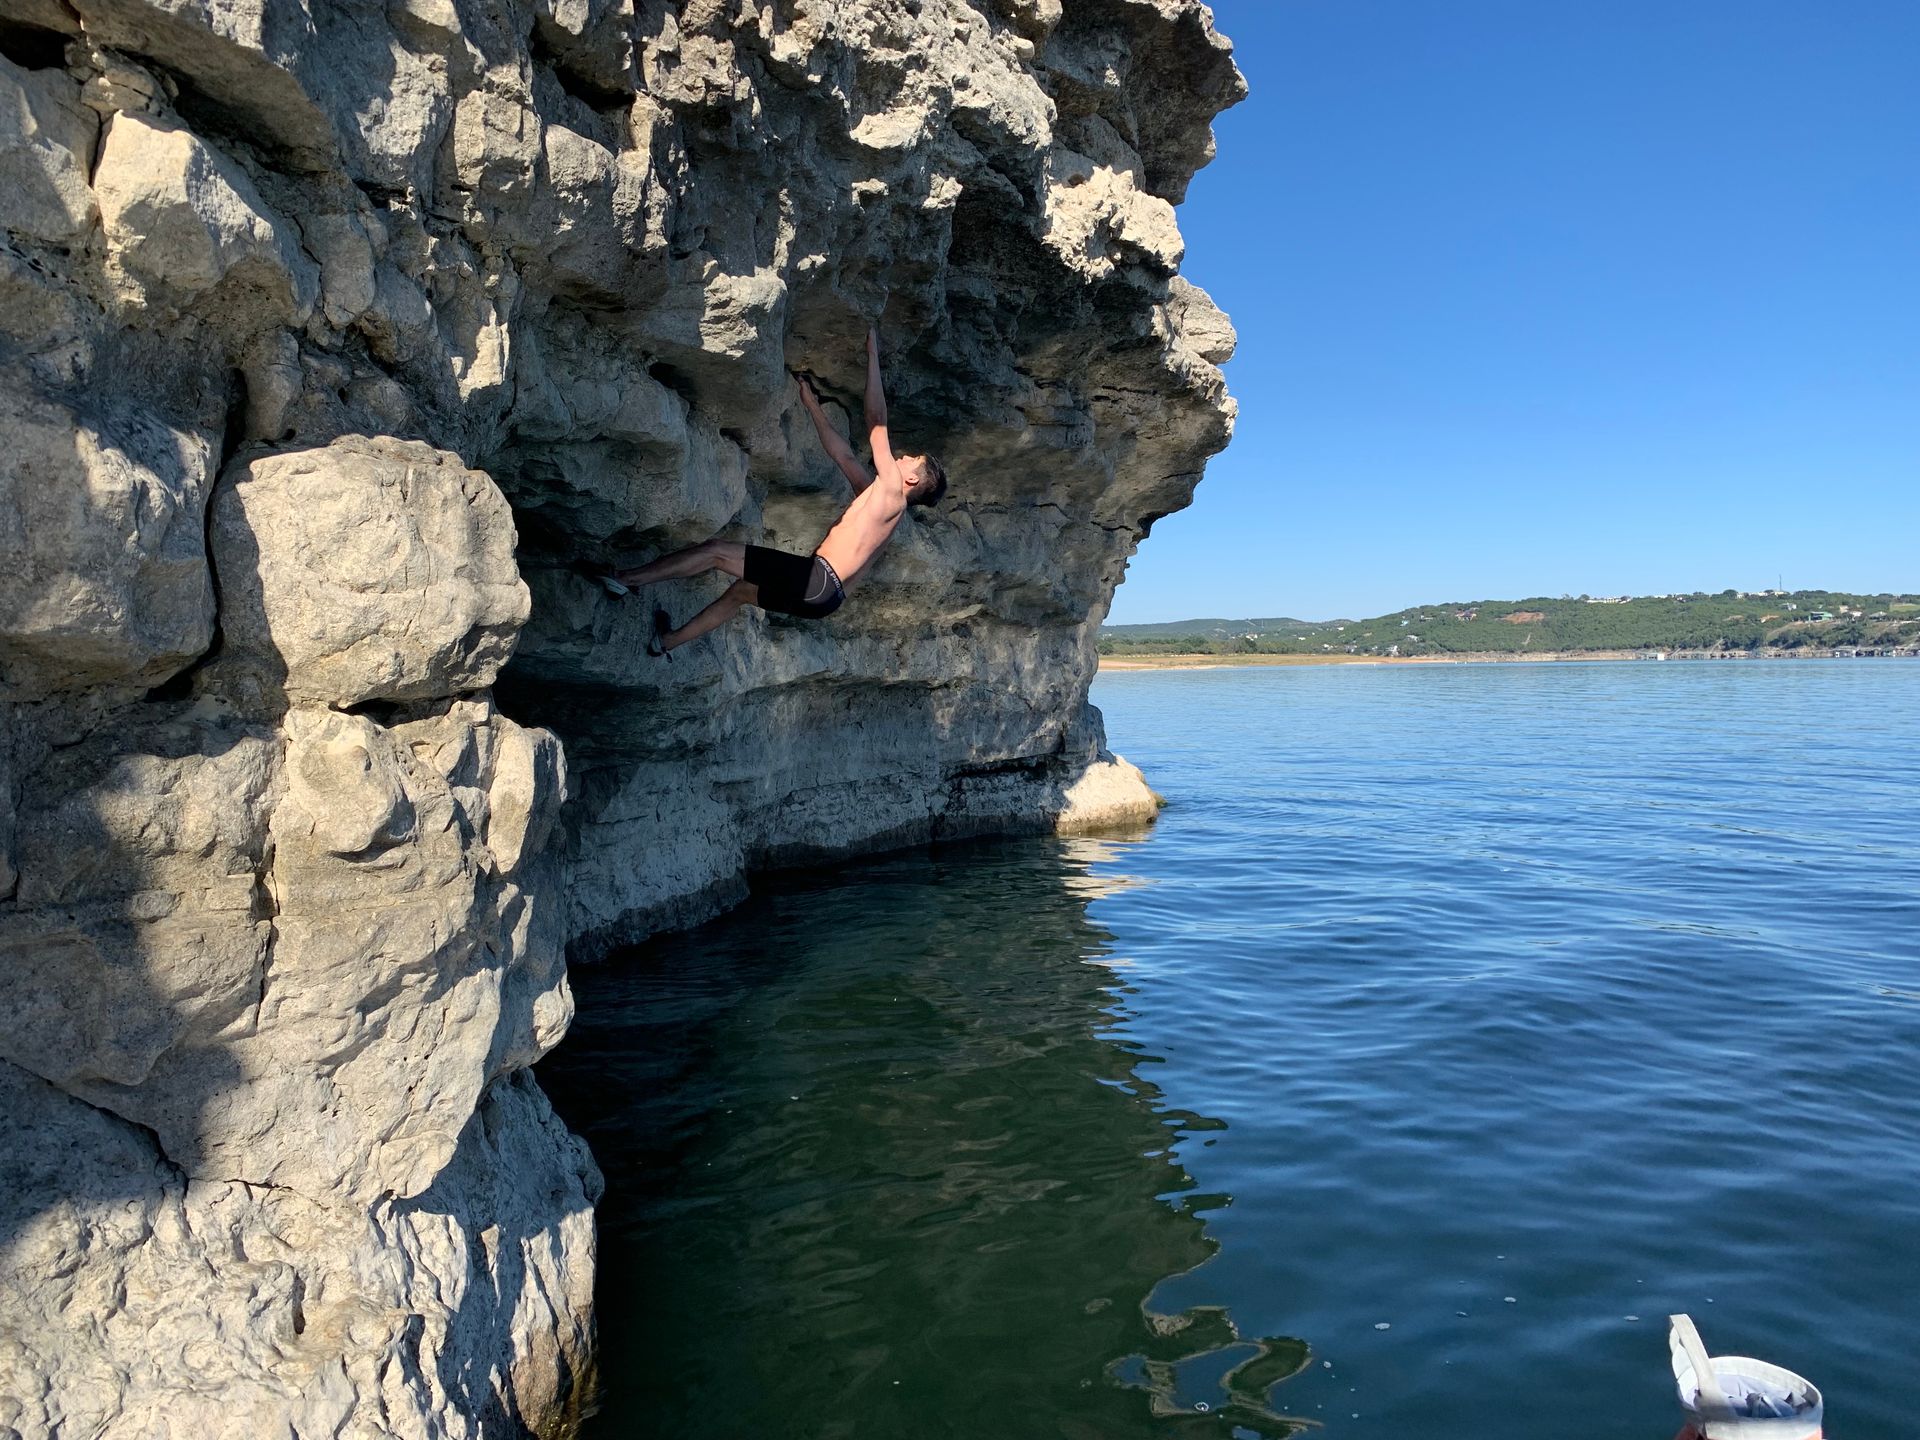
Person climbing a rocky cliff above calm blue water, with a white boat in the distance
July 24, 2026
Lake Travis just hit full pool for the first time since 2019, reopening deep water soloing terrain we haven't guided since 2018. No experience needed. Trips running now.

Kids climbing outdoors with a guide near Austin
June 29, 2026
A parent's 2026 guide to kids and teen rock climbing camps in Austin: ages, a typical day, safety, gear, and how to choose the right outdoor camp.
Beginner climber on limestone at the Austin Greenbelt
June 29, 2026
Five beginner-friendly routes and areas at Austin's Barton Creek Greenbelt, plus the gear, access, and safety basics you need for your first outdoor climb.
Climb in Texas
February 27, 2026
Discover the best time to climb in Texas. Learn why fall offers ideal conditions, how spring compares, and tips for winter and summer climbing.
Climbing at Enchanted Rock
February 26, 2026
Climb Enchanted Rock’s 300+ granite routes in Texas Hill Country. Get best seasons, rope tips, grades, and book guided tours with AMGA-certified experts.