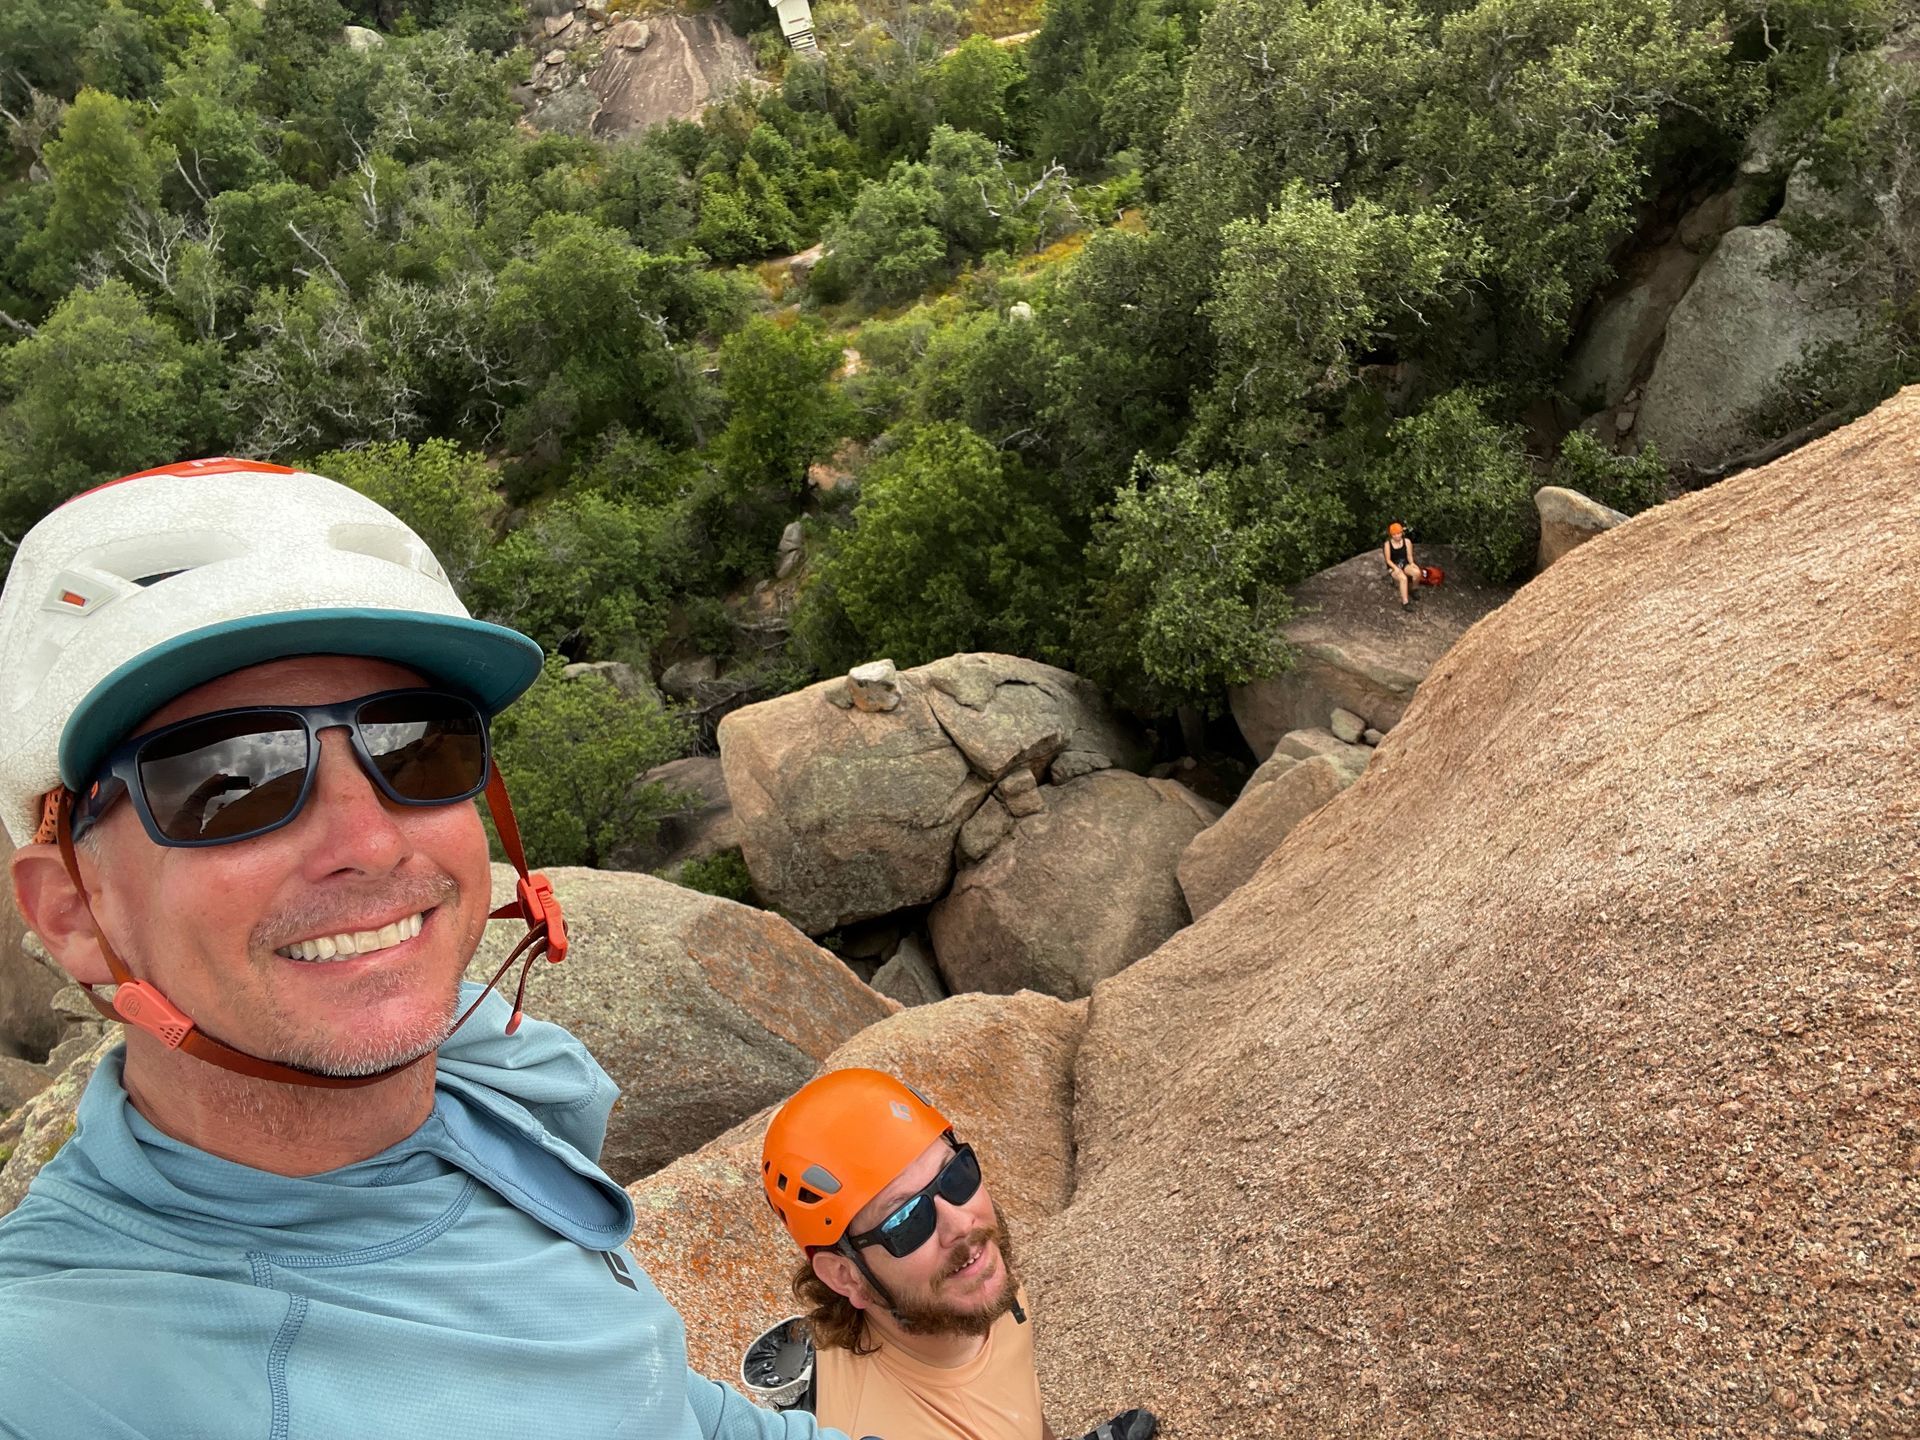
How to Belay: The Other Half of Learning to Climb

Rock-About Climbing Adventures • September 21, 2026

Everyone pictures the climbing. Almost nobody pictures the belaying, until the rope is in their hands and a friend is about to lean back on it. Learning how to belay is learning the other half of that partnership: one person climbs while the other manages the rope.

Belaying means controlling a climbing rope to hold a climber's weight, catch a fall and, when appropriate, lower them. On a top rope climb, the rope already passes through an anchor above the climber. The belayer takes in rope as the climber moves up, using the technique required for their belay device.

This is an introduction to ground-based top rope belaying. Learn and practice with a qualified instructor before belaying independently. A written sequence cannot check your equipment or catch a hand-position mistake.

What the Belayer Is Responsible For

A belayer follows the climber's movement and manages the amount of rope between them. Too much slack can increase how far a climber falls. Pulling constantly against the climber can also interfere with their movement. Learning the balance takes attention and practice.

The device helps create friction, but it does not replace the person using it. Your brake hand stays on the brake strand, which is the rope leaving the device on the side opposite the climber. Keep that hand in the position the device manufacturer specifies.

Belaying is an active job even when the climber pauses. A conversation behind you, a phone notification or another route can wait until your partner is back on the ground and the system has been closed out.

Start With the Device You Will Actually Use

Tube-style and assisted-braking devices require different handling. An assisted-braking feature is additional assistance, not permission to let go of the brake strand. Learn the instructions for your exact model and compatible rope and carabiner before using it.

For a typical harness-based top rope setup, the belayer uses a climbing harness, a compatible belay device and locking carabiner, and an appropriate climbing rope. Outdoors, the setup also depends on the route and its anchor. Building or assessing that anchor is a separate skill.

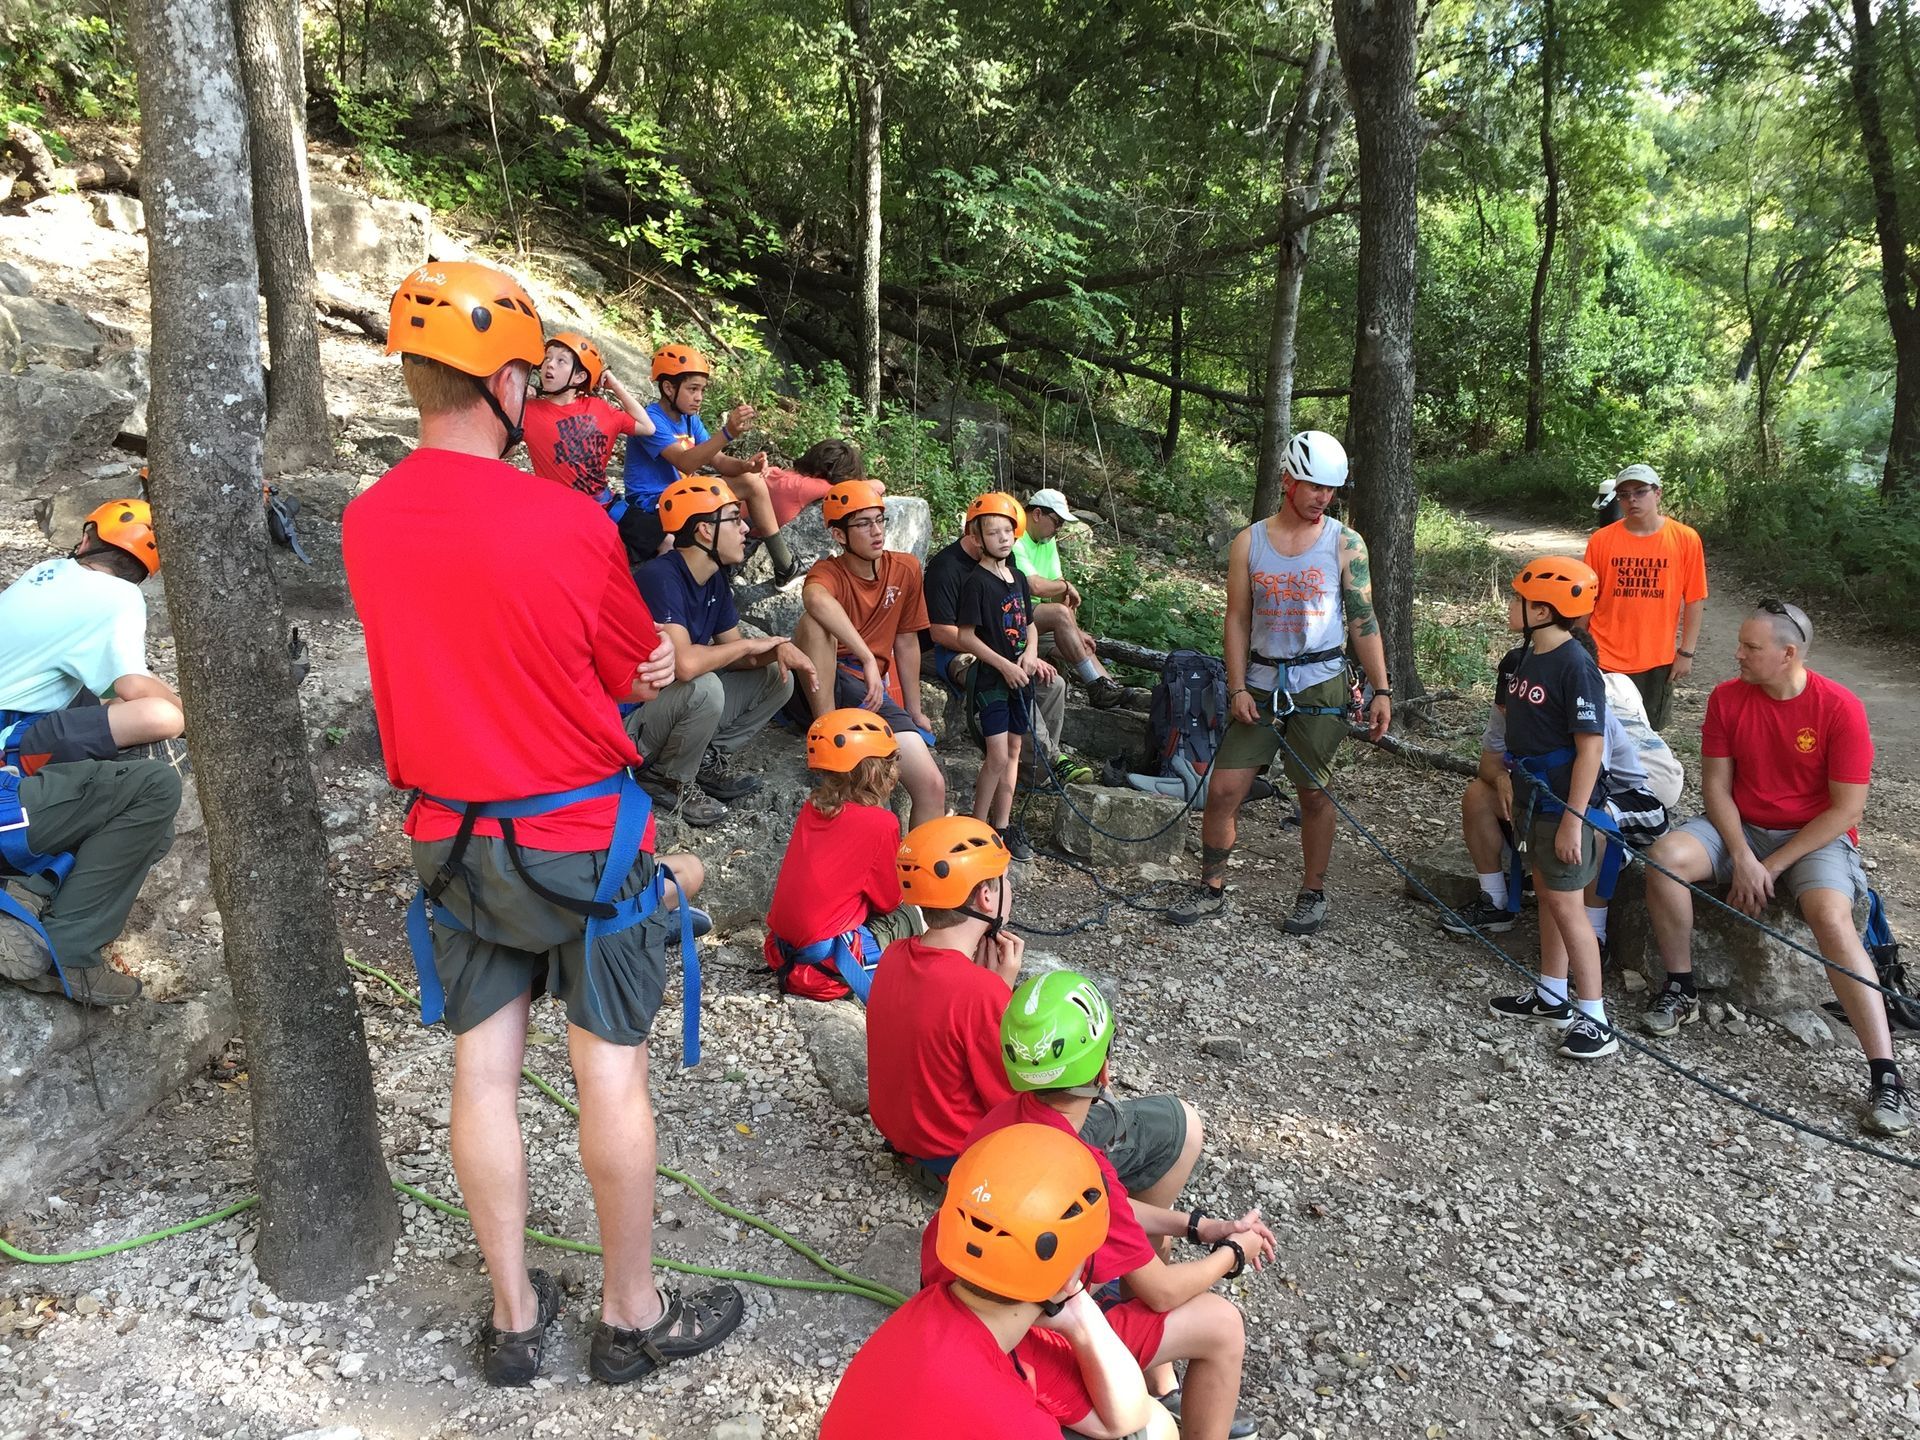
On Rock-About's Beginner Rock Climbing Course, climbing gear is provided and belaying is among the skills taught. That gives you a place to learn with the equipment in front of you, before deciding what to buy.

Check the System Together Before Climbing

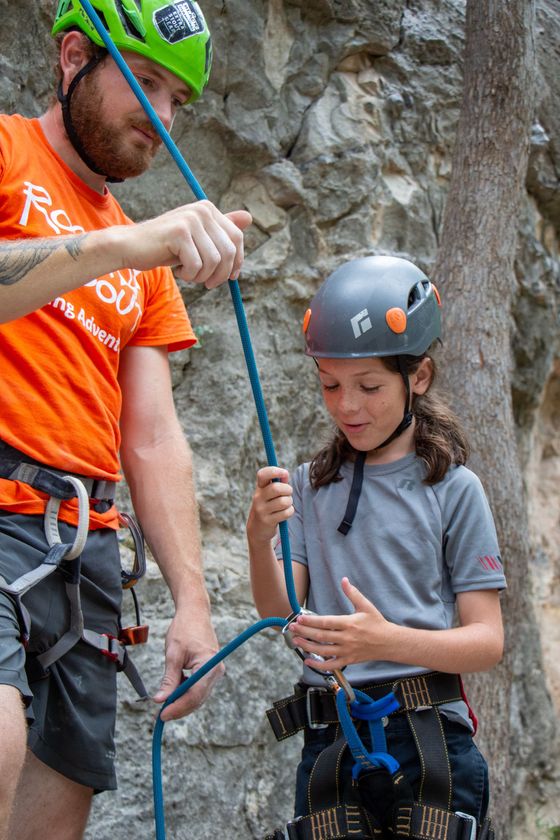
Make the partner check a shared task. Each person looks at the other's setup, instead of checking only their own work.

  • Harnesses: Confirm fit, fastening and attachment points according to each harness manufacturer's instructions. Buckle designs differ.
  • Climber's connection: Check that the tie-in uses the correct points and that the knot is correctly tied, dressed and finished. Use our rock climbing knots guide as a reference alongside instruction.
  • Belay setup: Check rope orientation, device attachment and the locking carabiner. Your instructor should demonstrate a functional check for the setup.
  • Rope length and free end: Confirm the rope is long enough for the intended climb and lower. Use an appropriate stopper knot in the free end so it cannot run through the device.
  • Plan and communication: Agree on what happens at the top and how you will communicate. The climbing commands reference covers the calls in detail.

A quick check only helps when both people actually inspect the system. If something looks unfamiliar, resolve it before the climb starts.

How to Belay Top Rope: Understanding PBUS

PBUS stands for Pull, Brake, Under, Slide. It is a commonly taught method for taking in rope with a tube-style device. It is not a universal instruction for every belay device. Here is the cycle, and what your instructor will demonstrate for each part:

  • Pull: Take in rope as the climber moves, using the guide hand and brake hand together.
  • Brake: Return the brake strand to the device's braking position immediately after taking in rope.
  • Under: Move the guide hand below the brake hand and close it firmly around the brake strand.
  • Slide: Keep the strand in the braking position, firmly held by the guide hand. Slide the original brake hand back toward its working position with its fingers still around the rope, then re-establish a firm grip.

The important habit is continuous brake-strand control, not reciting four words quickly. Practice slowly enough that your instructor can watch every movement, then practice responding to changes in the climber's pace. REI's belaying guide illustrates the tube-device method and its limitations.

Resting, Catching and Lowering Are Part of the Lesson

Holding a resting climber keeps their weight supported with the rope in the braking position. Catching a fall requires the belayer to maintain that braking control as the system takes the load. Lowering feeds rope through the device at a controlled pace using the technique for that model. Practice all three with your instructor, including the communication that starts and ends each action.

Agree on the lowering exchange before climbing. The climber and belayer need to know when the rope is supporting the climber and when lowering will begin. The belayer maintains brake-strand control throughout the descent.

Belayer position, differences in partner weight and the shape of the route affect how the system behaves. There is no single stance or weight rule that covers every setup. Have the instructor assess your pairing and demonstrate any additional measures needed.

Where Top Rope Belaying Ends and Lead Belaying Begins

On top rope, the belayer generally takes in rope as the climber gains height. A lead climber carries the rope upward and clips protection along the way, so the belayer must feed rope while managing slack and preparing for different falls.

Being comfortable on top rope does not automatically prepare you to lead belay. Rock-About's Lead Rock Climbing Course is a separate learning step; check its current entry requirements with the team before booking.

Practice With Someone Who Can See Your Hands

It helps to learn with someone who can stop you at the exact moment a habit needs correcting. That might be a drifting brake hand, an incomplete check or a lower that speeds up when you meant to slow down.

Grace Rice described learning with guide Clay in a Google review: "He made it fun as we learned how to knot, belay, and call out proper climbing terms." Another guest, ktel09 on Tripadvisor, wrote that Adam "let us go at our own pace, and never rushed us to call it day."

Bring your questions to the Beginner Rock Climbing Course. You can practice belaying, knot tying and climbing communication with an AMGA-certified guide on Central Texas rock, with the climbing gear included.

Two men rappelling Texas
September 9, 2026
Rappelling in Texas is safe for complete beginners with a certified guide. No experience needed, all gear provided, year-round sessions. Book today.
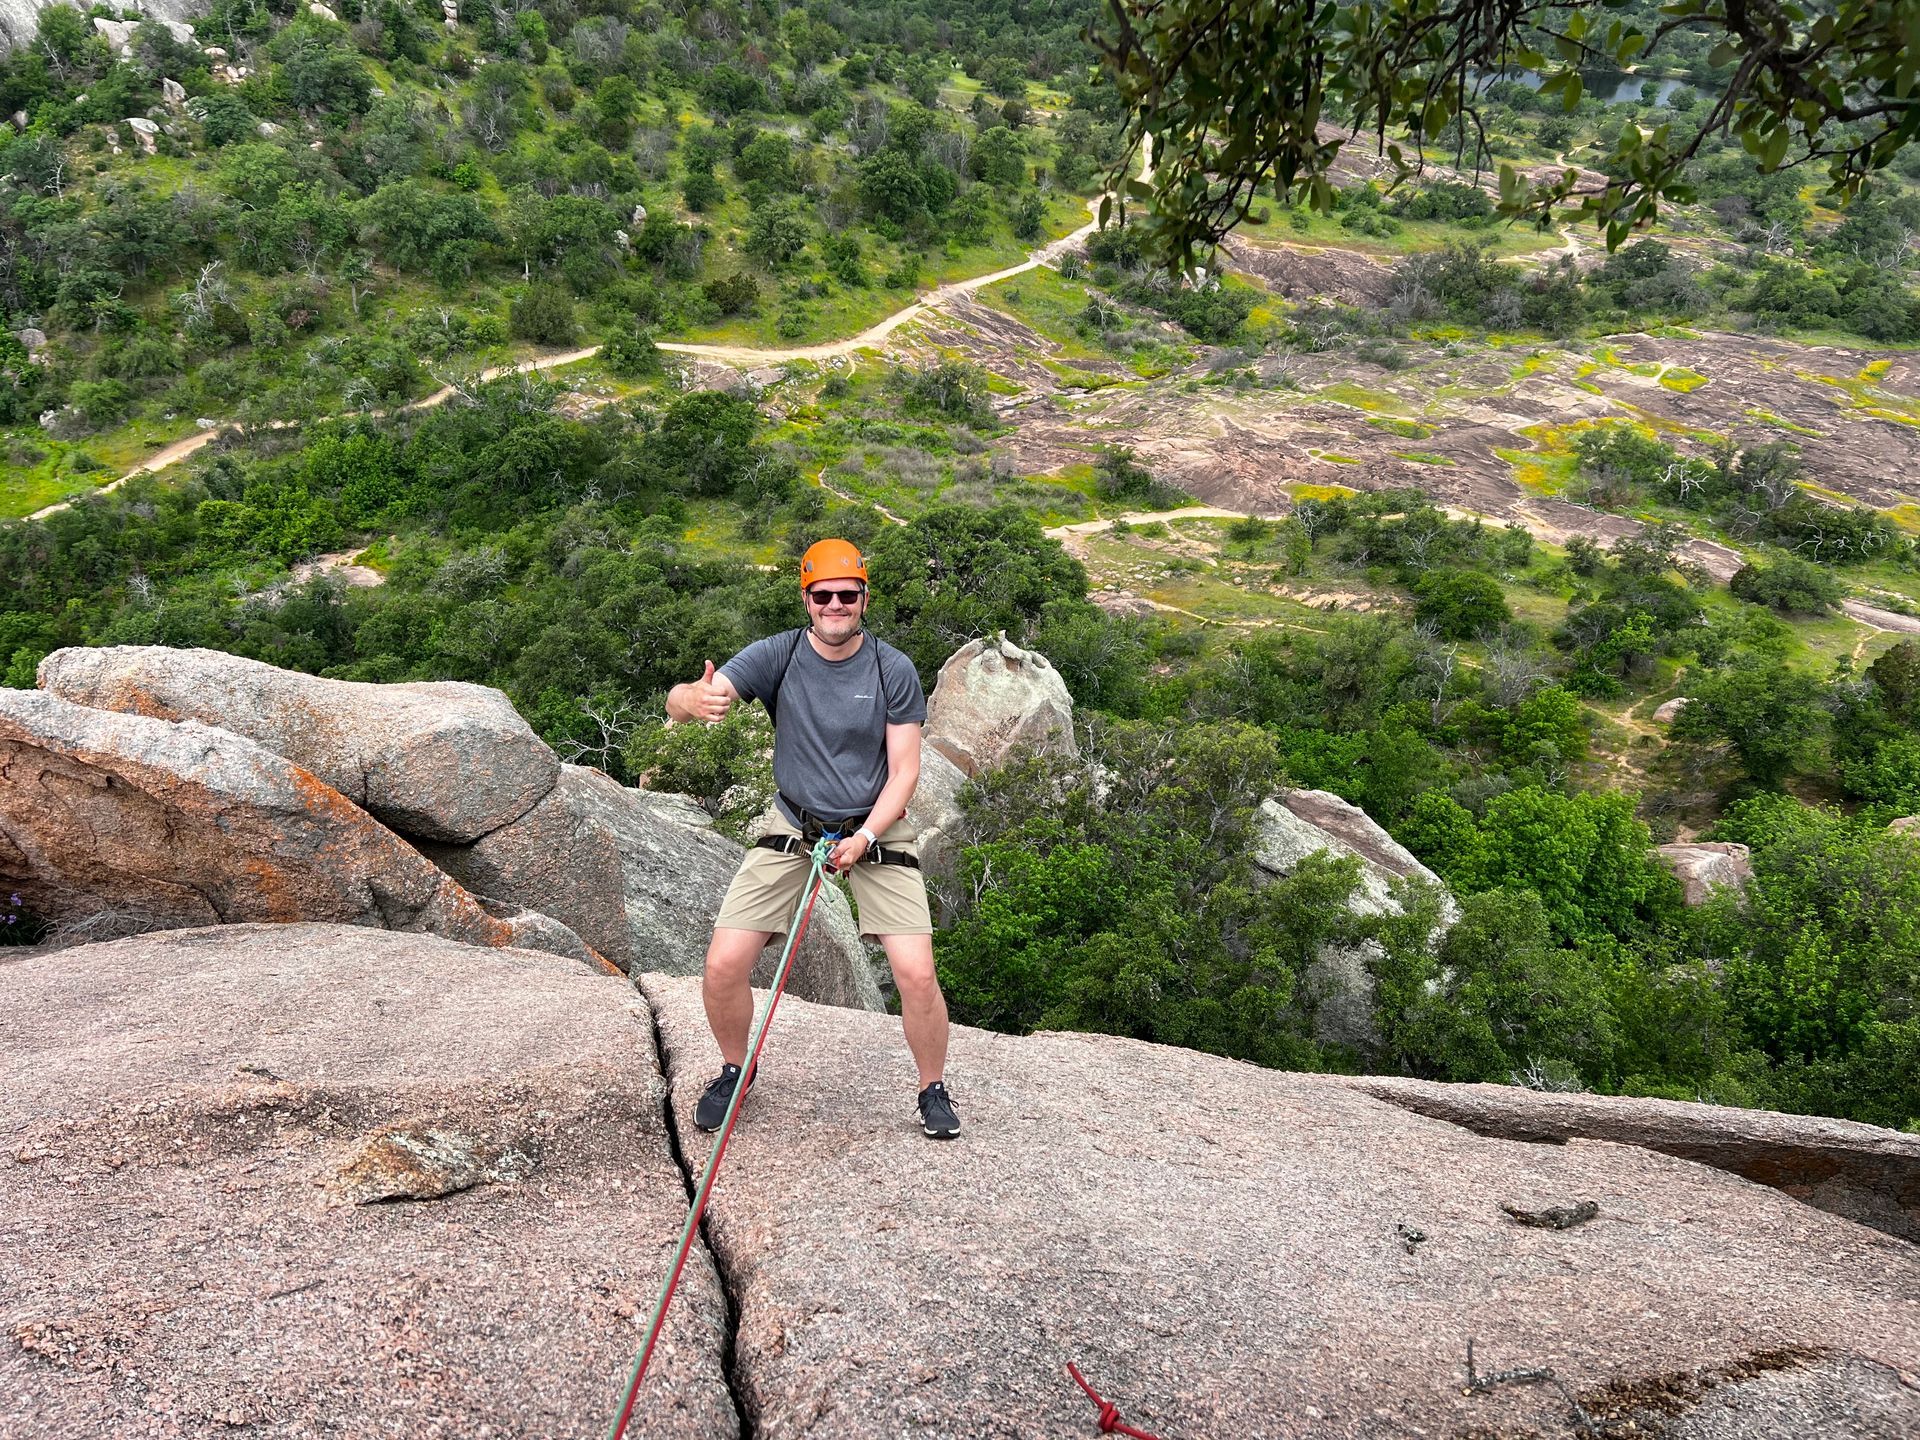
Person rappelling down a granite rock face, wearing safety gear, in a green, rocky landscape.
September 1, 2026
Discover Rock-About’s limited-time weekday rock climbing deals in Texas. Save 10% on beginner courses, deep water soloing, and rappelling adventures this fall, winter, and spring.
rock climbing
August 23, 2026
Yes, you can go rock climbing in San Antonio. Medicine Wall has free access, routes 5.6 to 5.12, guided since 2001. No experience needed. Book today.
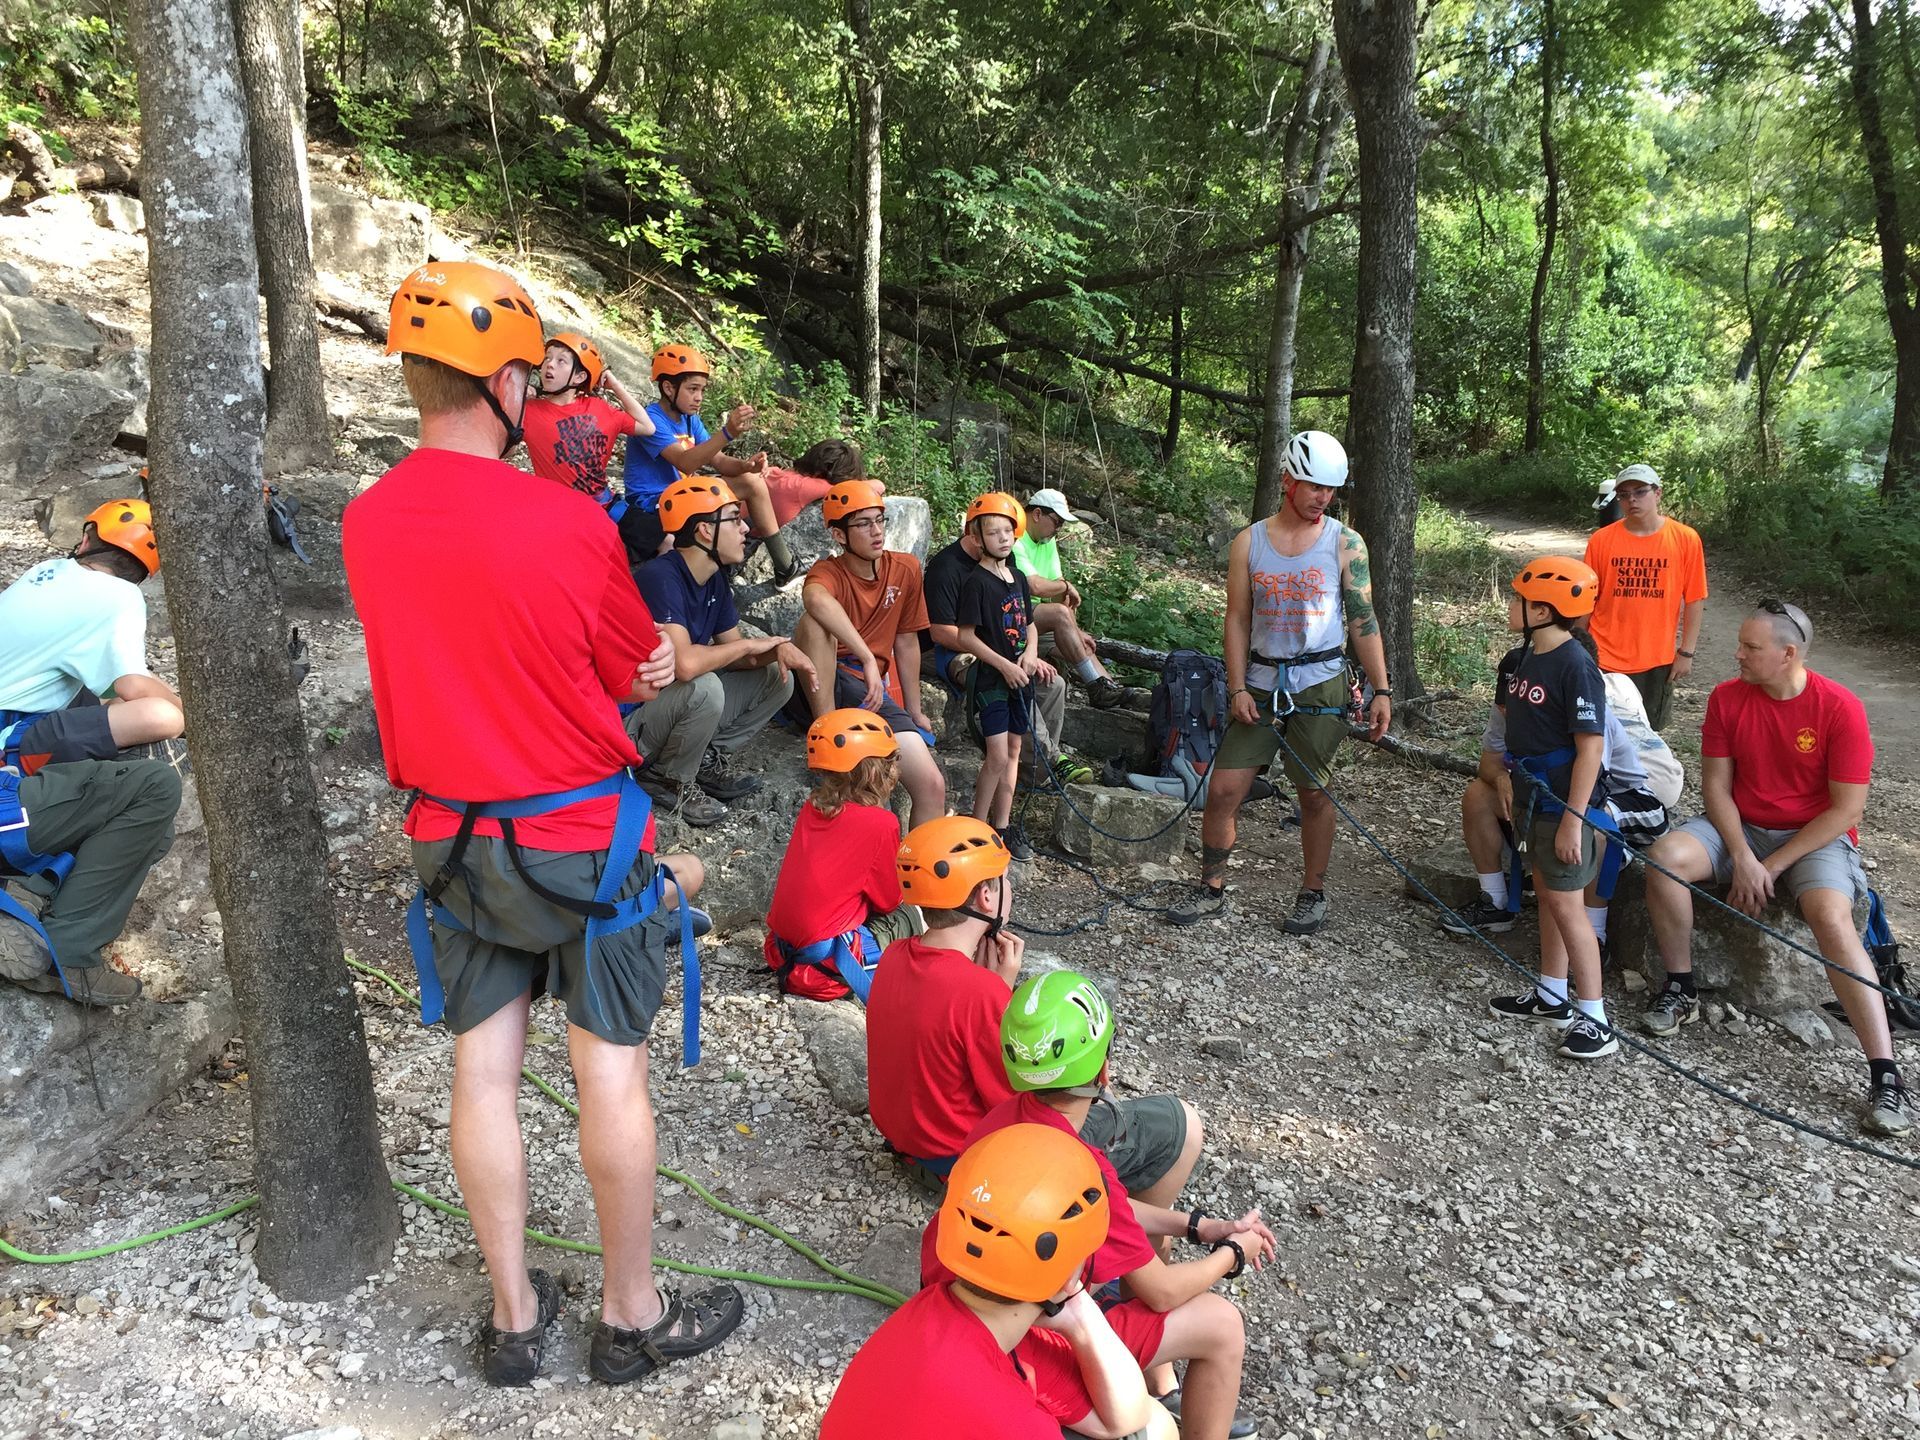
Scout troop rock climbing with AMGA-certified guides in Central Texas
August 7, 2026
Why guided rock climbing works as team building for scout troops and school groups in Texas: AMGA-certified guides, gear provided, from $85 per person.
By Rock-About Climbing Adventures July 31, 2026
How to use a hangboard safely: who is ready, when to start, and the finger protocols that build climbing strength without injuring your fingers.
By Rock-About Climbing Adventures July 29, 2026
Climbing commands keep you safe. Learn the full set of climber-belayer calls in order, from On belay to Take to Rock, and how to respond to each one.
By Rock-About Climbing Adventures July 28, 2026
Learn the essential rock climbing knots our AMGA-certified Texas guides teach, from the figure 8 to the Prusik, with what each is for and when to use it.
By Rock-About Climbing Adventures July 27, 2026
A climbing warm-up routine that takes 10 minutes and protects your fingers, shoulders, and forearms, using the mobility and finger prep our AMGA guides use.
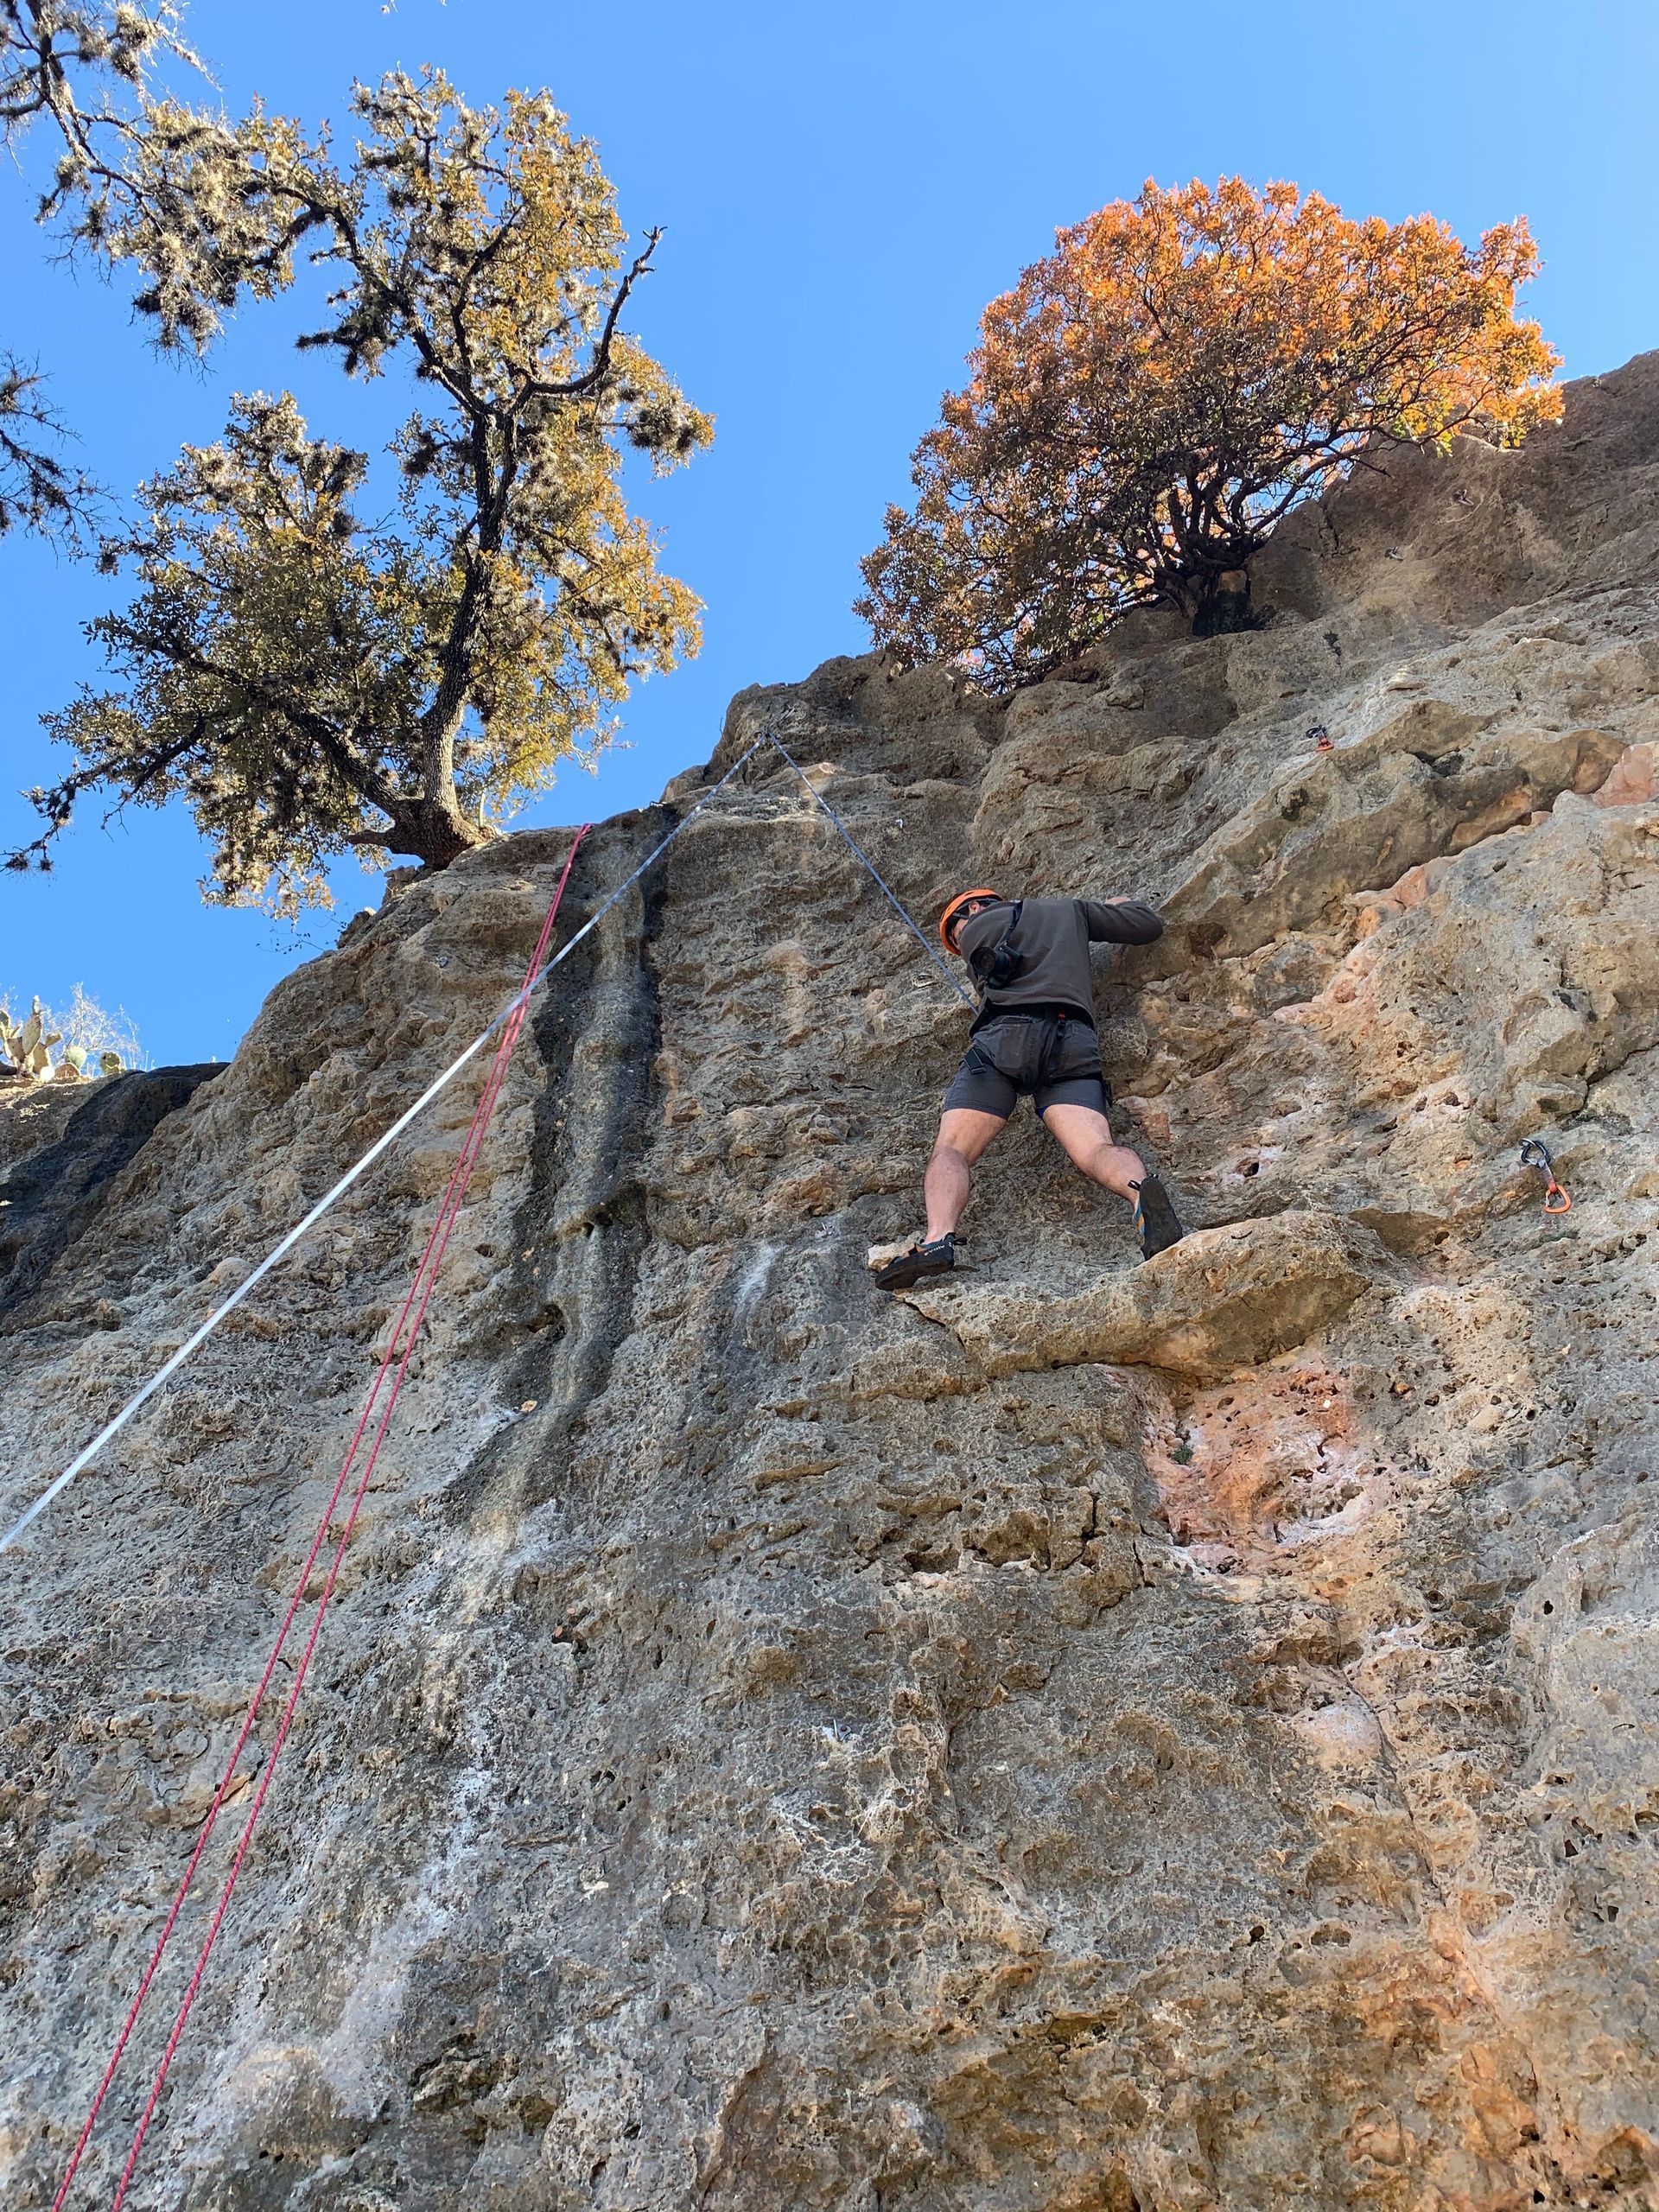
Outdoor rock climbing near Dallas-Fort Worth at Penitentiary Hollow, Lake Mineral Wells
July 24, 2026
Where to actually climb real rock near Dallas-Fort Worth: the closest outdoor crags, drive times, gym vs. outdoors, and guided trips at Lake Mineral Wells.
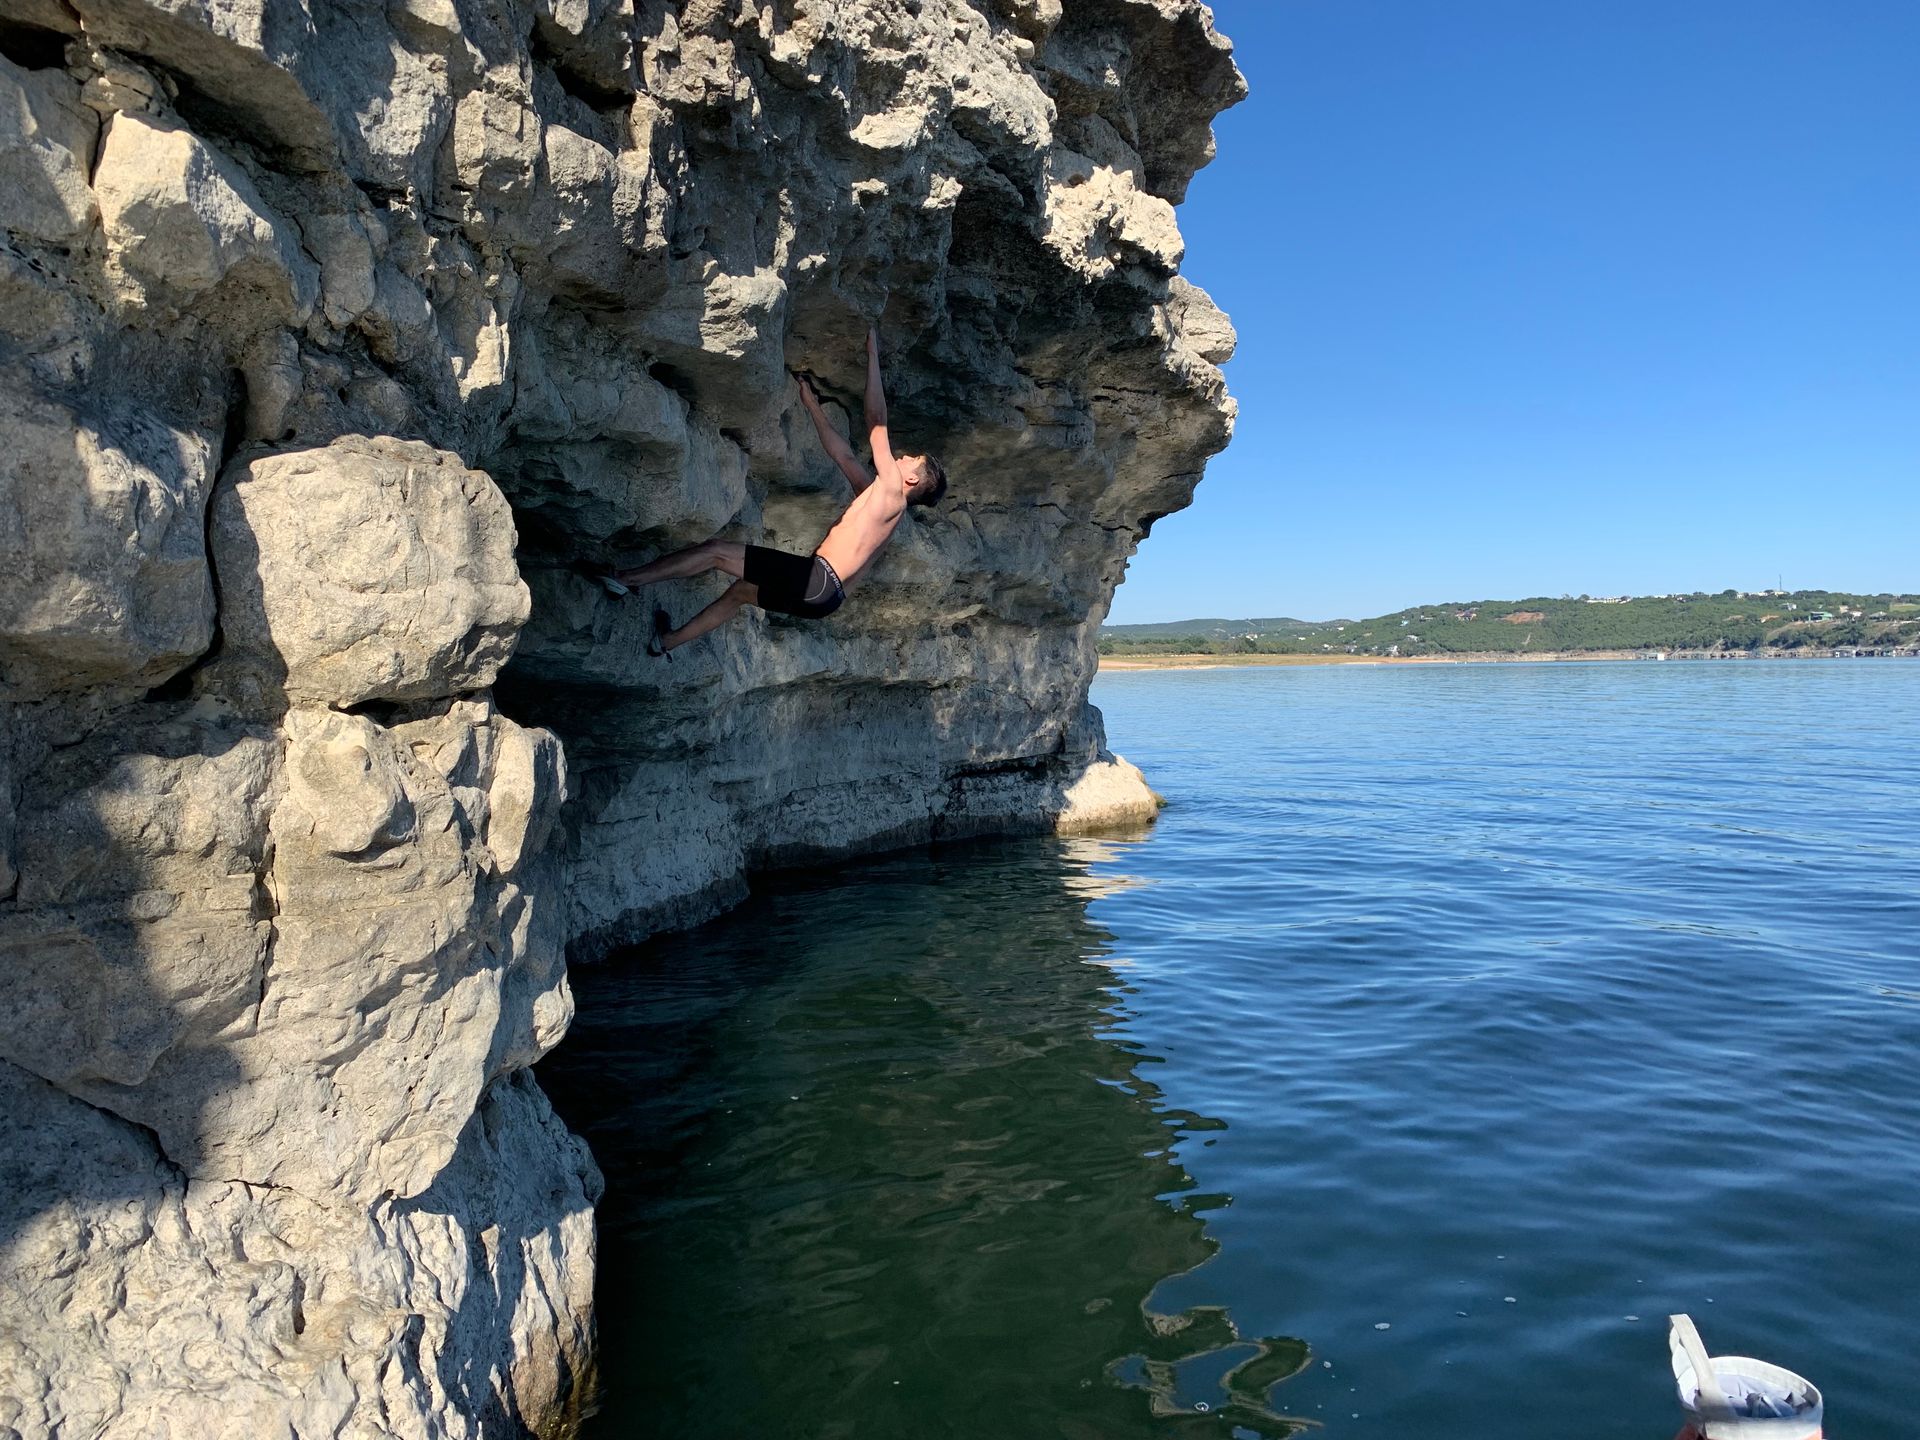
Person climbing a rocky cliff above calm blue water, with a white boat in the distance
July 24, 2026
Lake Travis just hit full pool for the first time since 2019, reopening deep water soloing terrain we haven't guided since 2018. No experience needed. Trips running now.